Content libraries are container objects for VM and vApp templates and other types of files, such as ISO images, text files, and so on. You can find more info about content libraries here.
One new feature in vSphere 7 is template versioning – so you can edit VM templates by checking them out, making changes, and checking them in. Also you will be able to keep track of VM templates and versions by adding comments after each change or to revert back the templates to previous states and (or) delete a version you no need it.
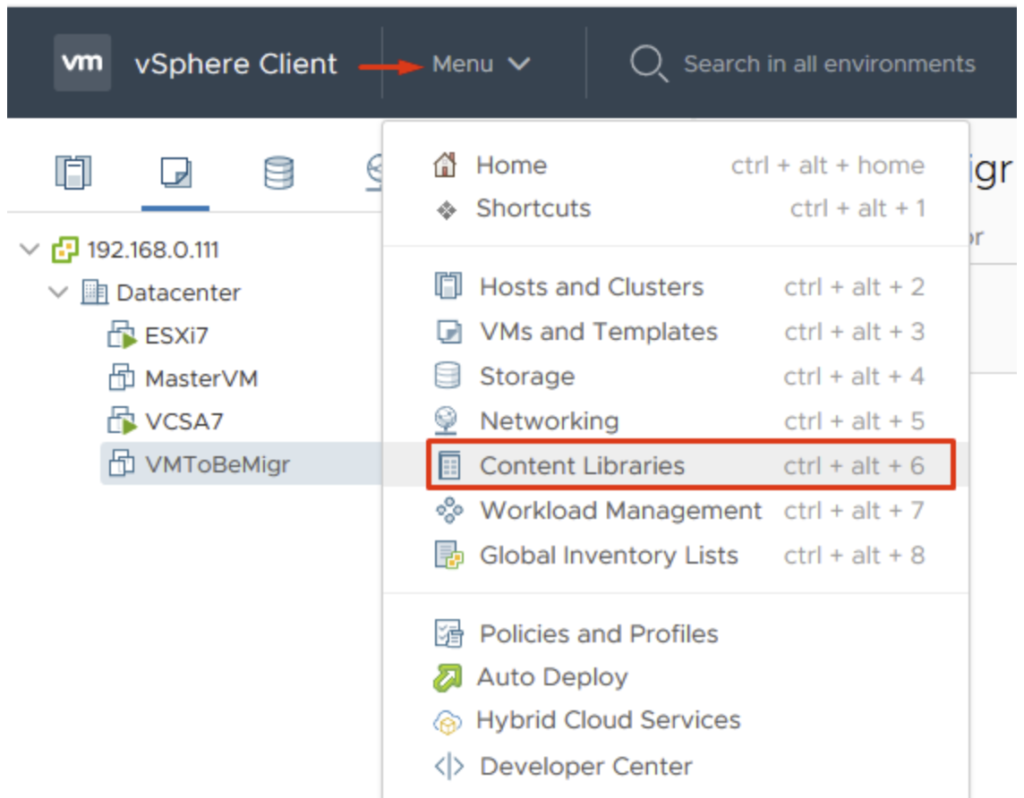
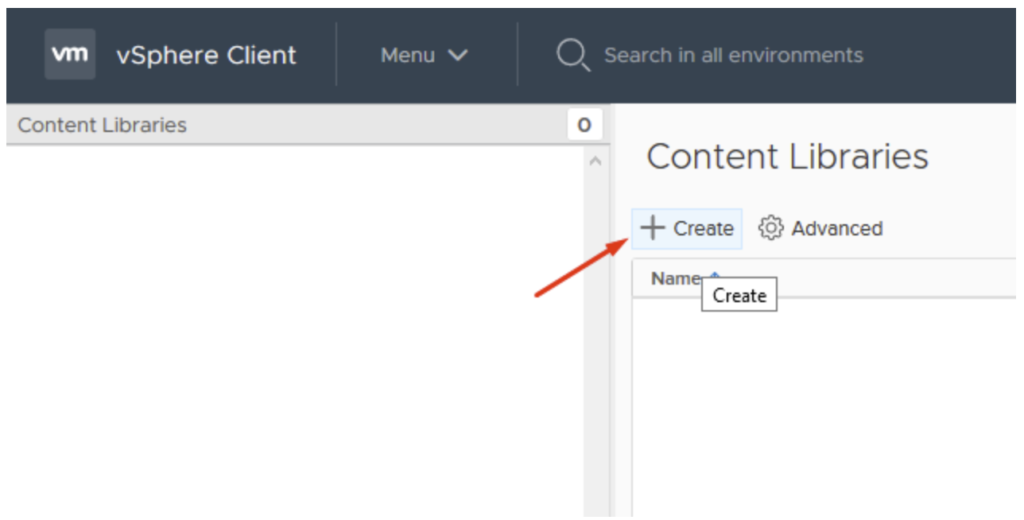
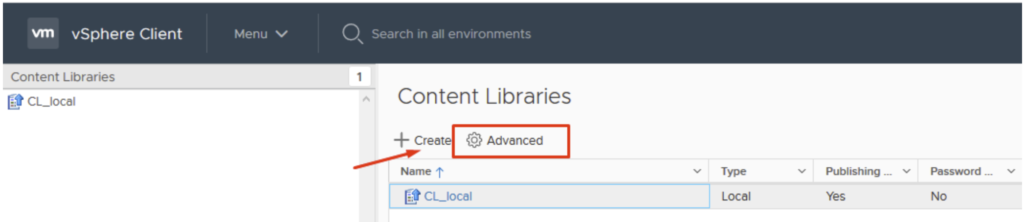
Before to test Check-In and Check-out options we need to create a Content Library. From vSphere Client go to Menu and select Content Libraries.
Next step is to click on the “+ Create” to open the New Content Library wizard.
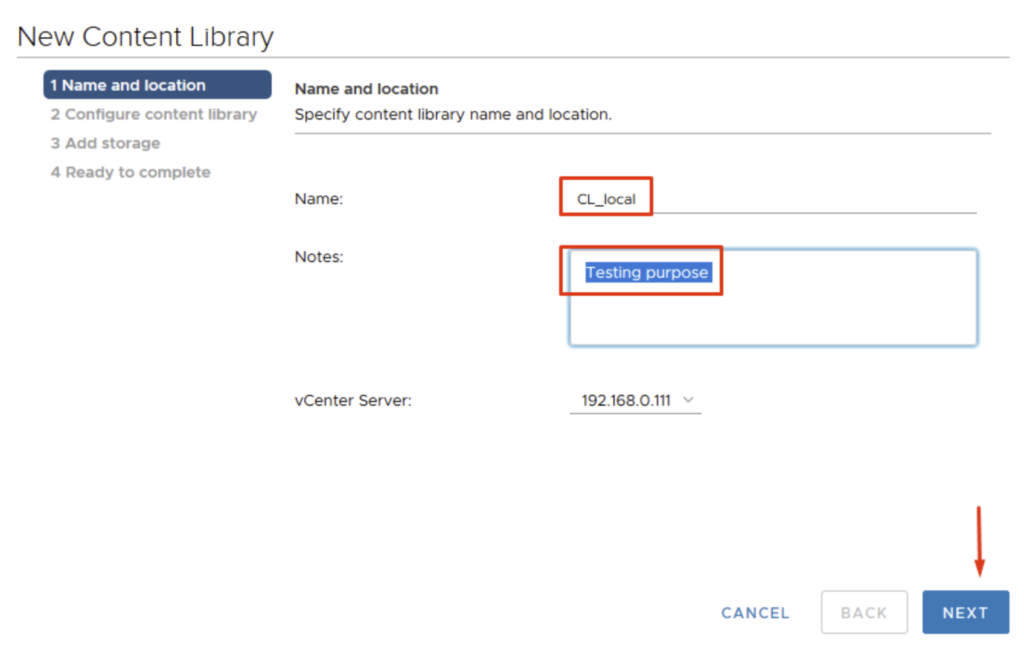
Specify the Content Library Name, you can also add any required Notes. Click Next to continue.
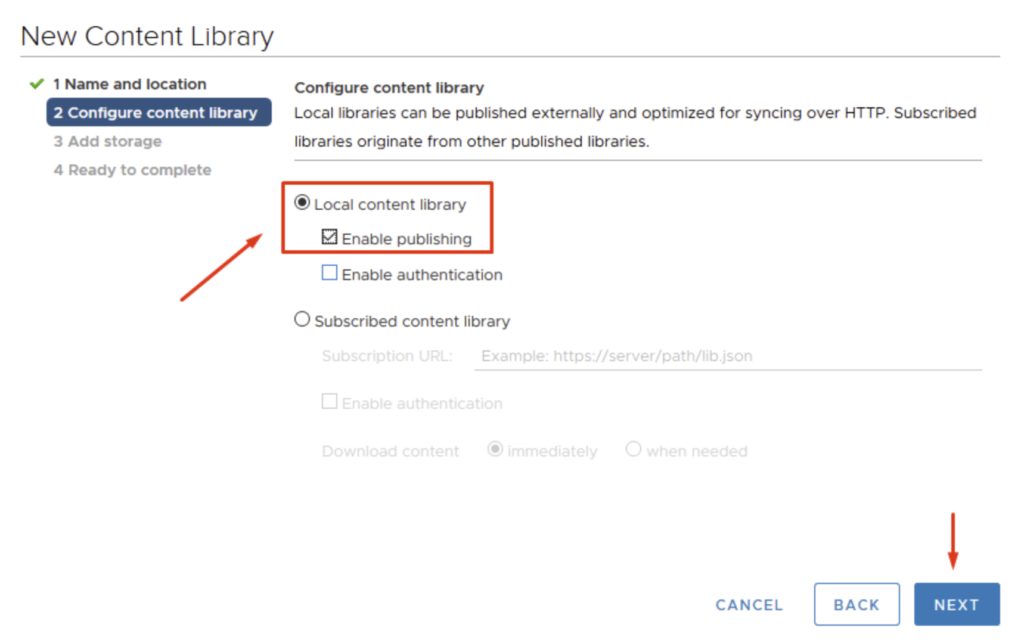
I’ve selected a Local Content Library and Enable Publishing option, then Next to continue.
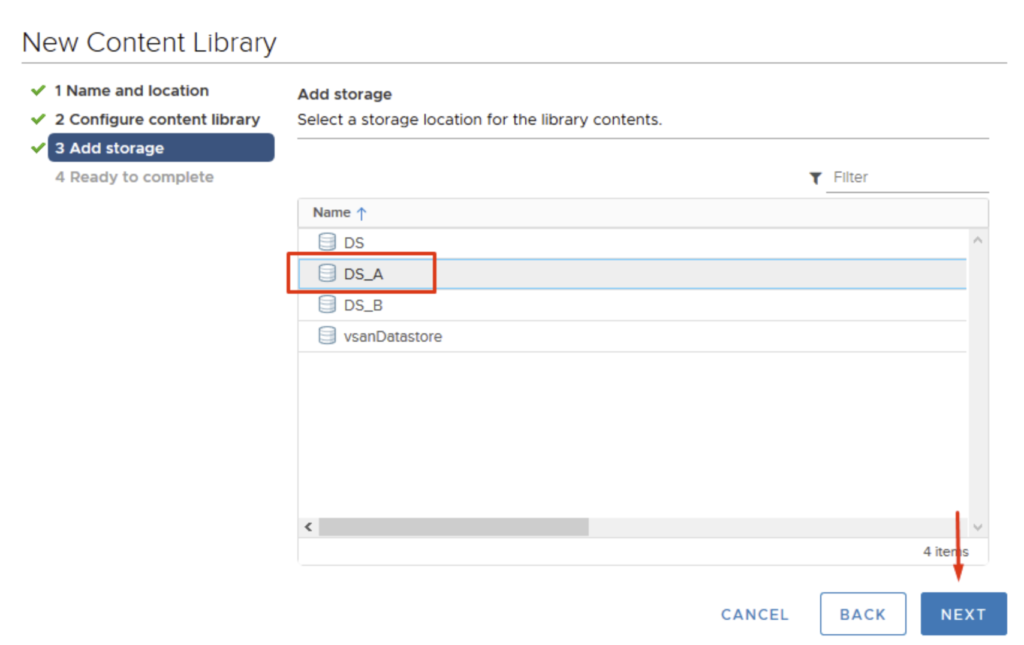
Added the datastore and then Next.
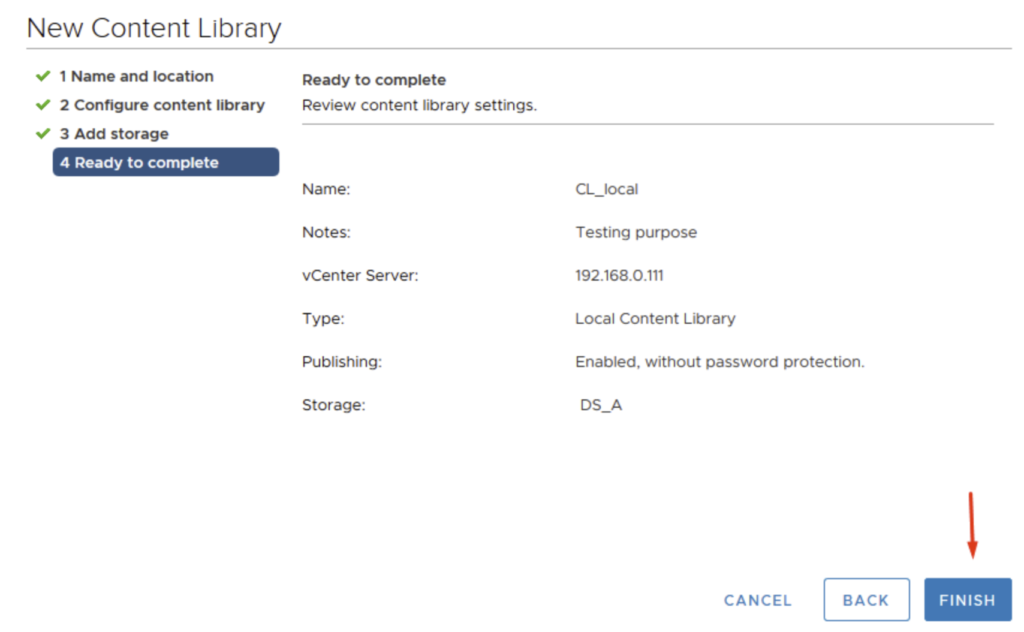
Review the settings and press Finish to complete.
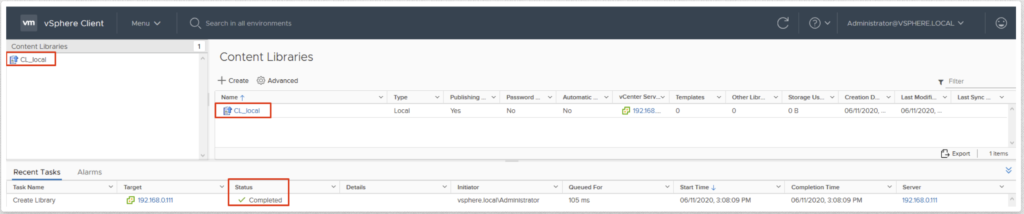
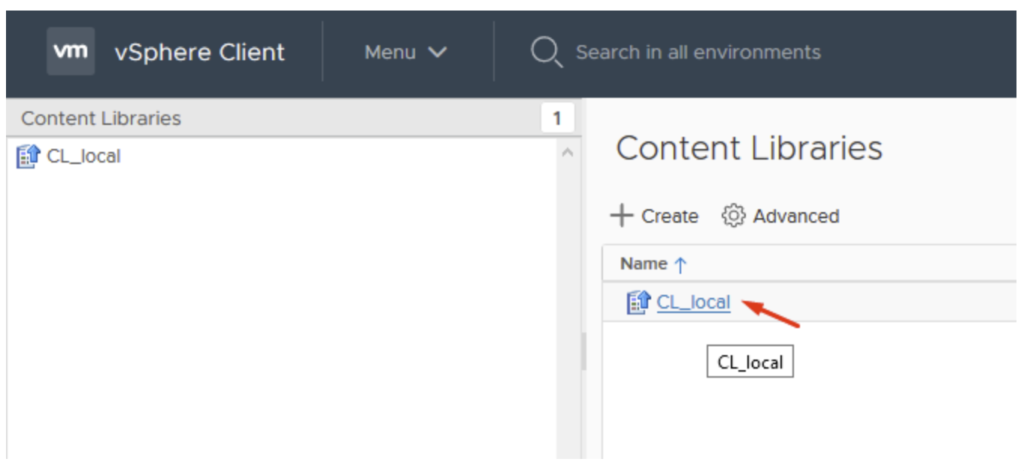
Now you can see the Content Library created.
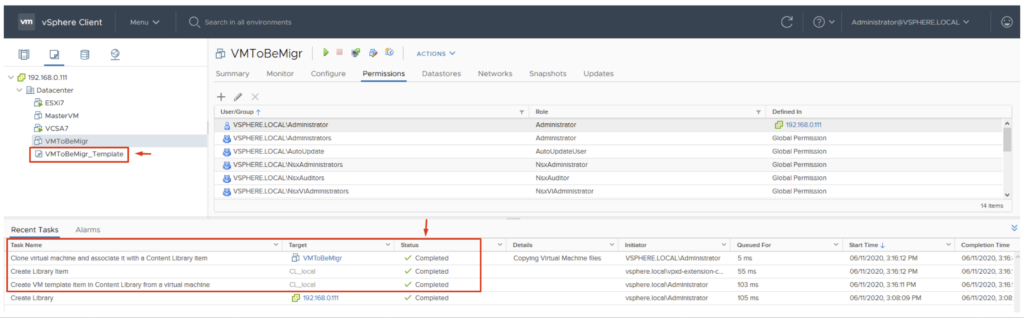
I will clone my VMToBeMigr virtual machine as a template into my content library recently created.
Right-click on VM, select Clone option and then Clone as Template to Library.

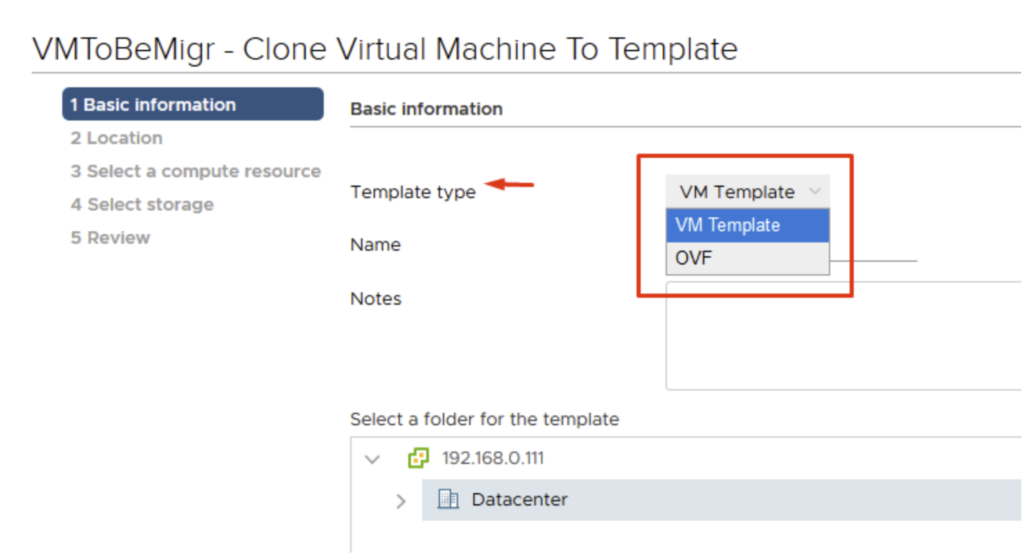
You can choose VM Template or OVF as a Template type, I’ve chosen VM Template for this exercise.
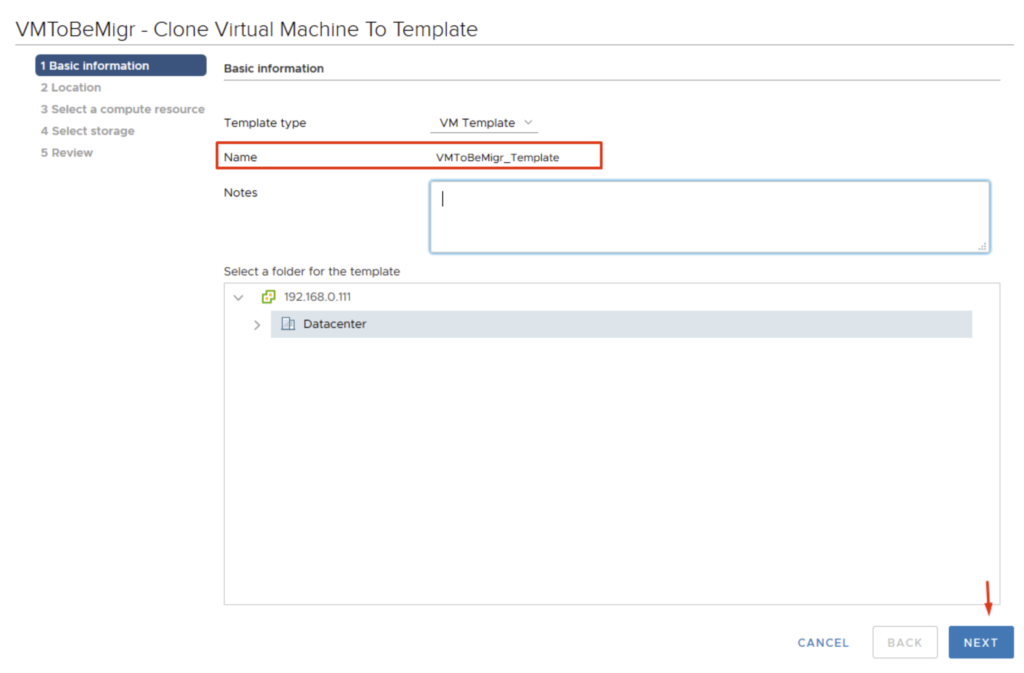
Chose the Template’s name and appropriate folder, then click Next.
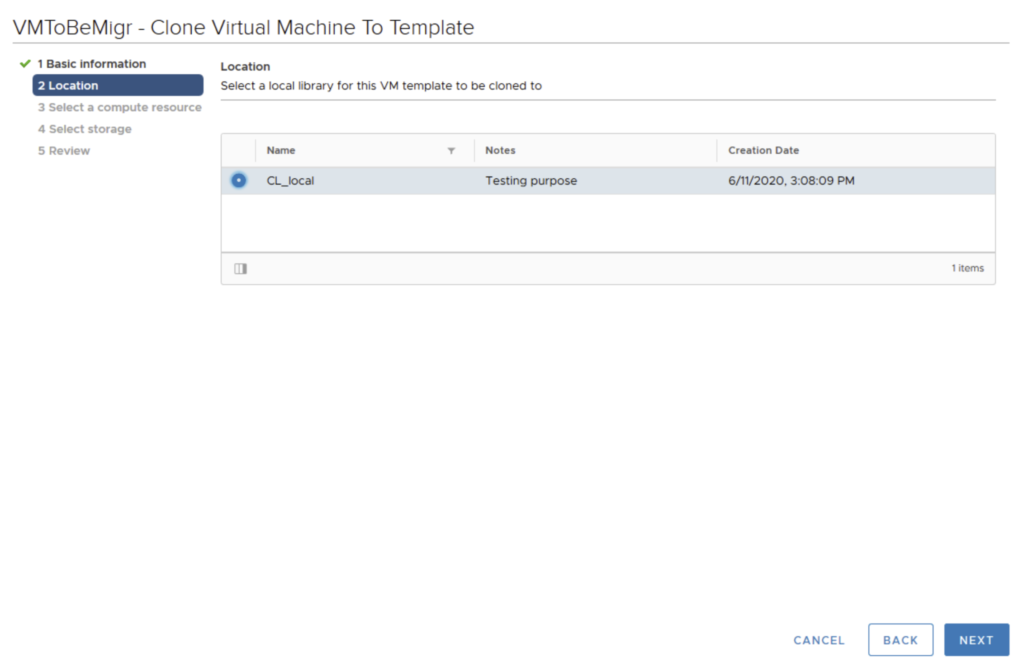
Next step was to choose my content library where I will store my template, then Next.
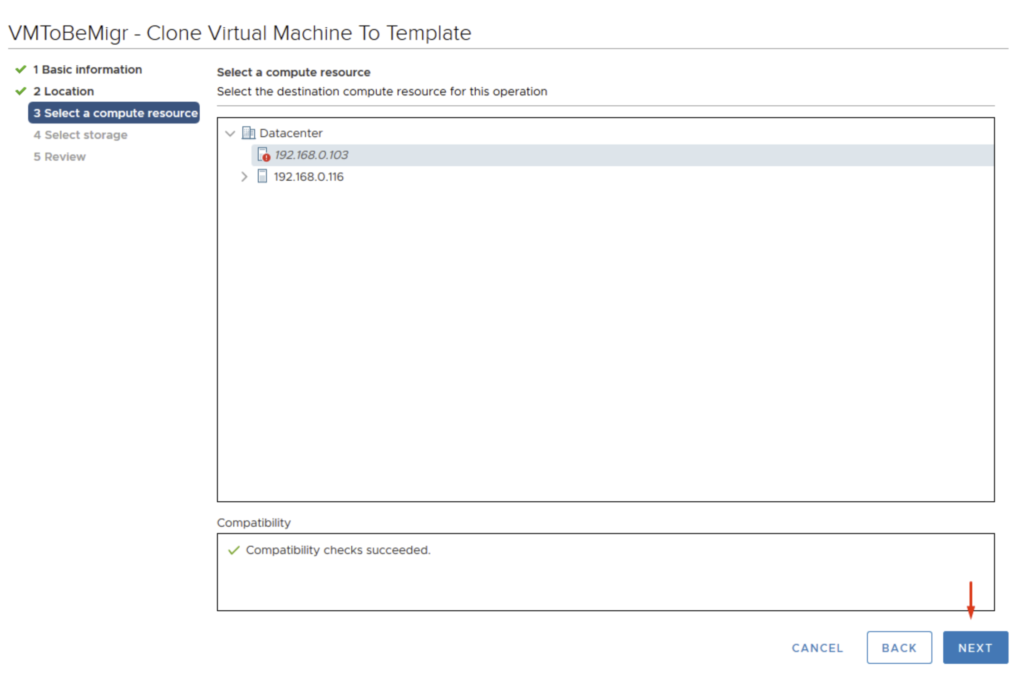
Selected the compute resource (192.168.0.103) for this operation, then click Next.
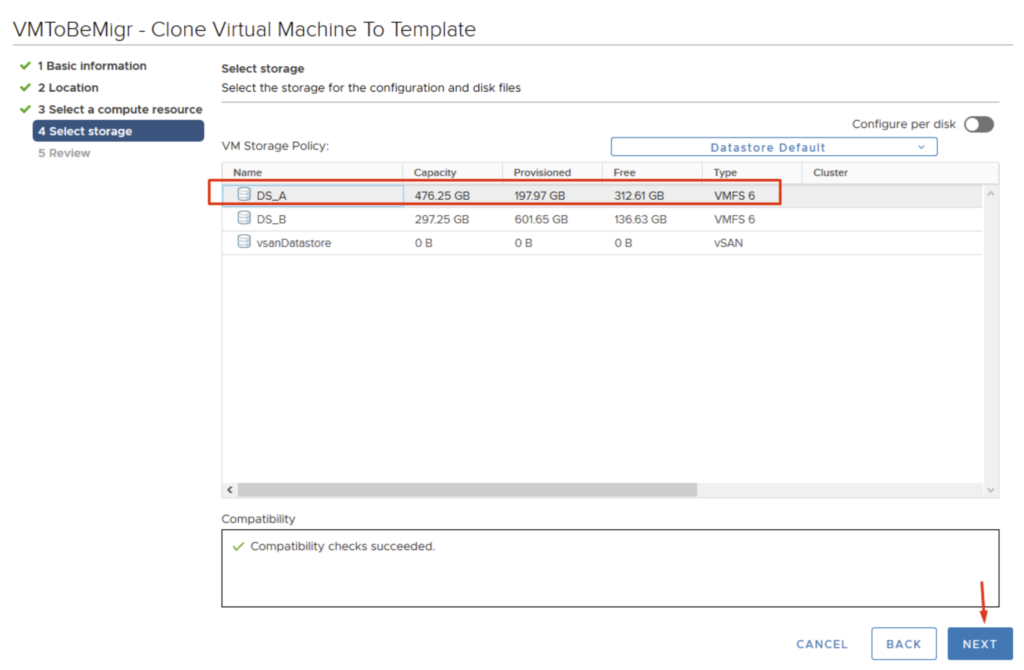
Chosen the datastore (DS_A) where the template will be stored and then Next.
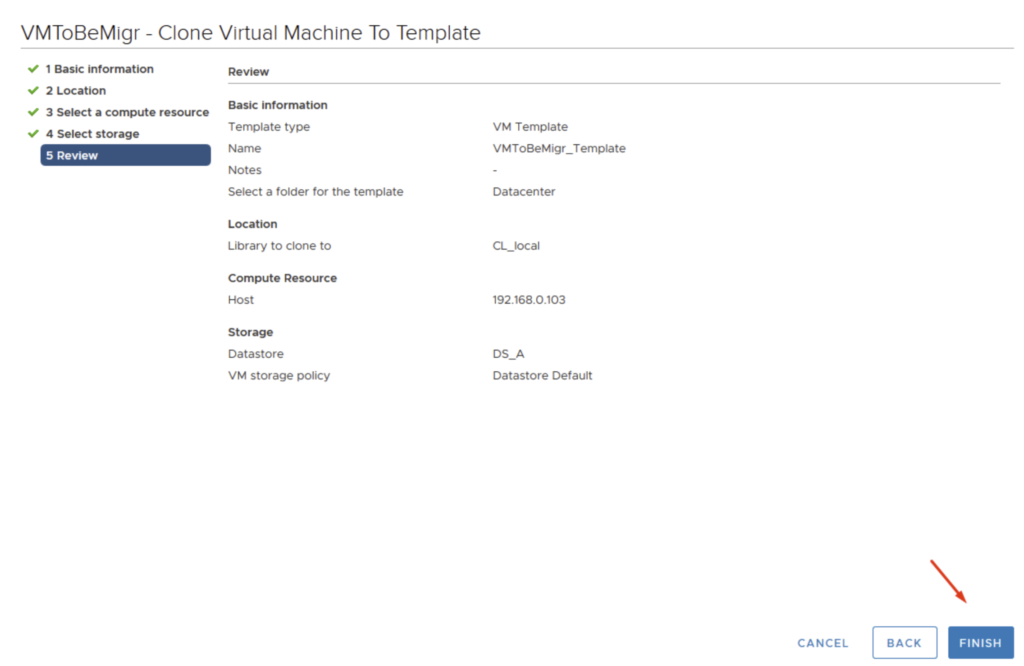
Reviewed settings and Finish.
Under Recent Task you can monitor the status and progress.
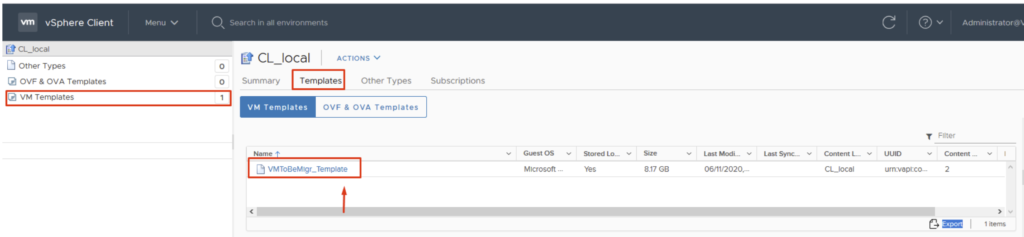
Under Content Libraries click on the Library’s name (CL_Local), go to Templates and you will be able to see the VM template.
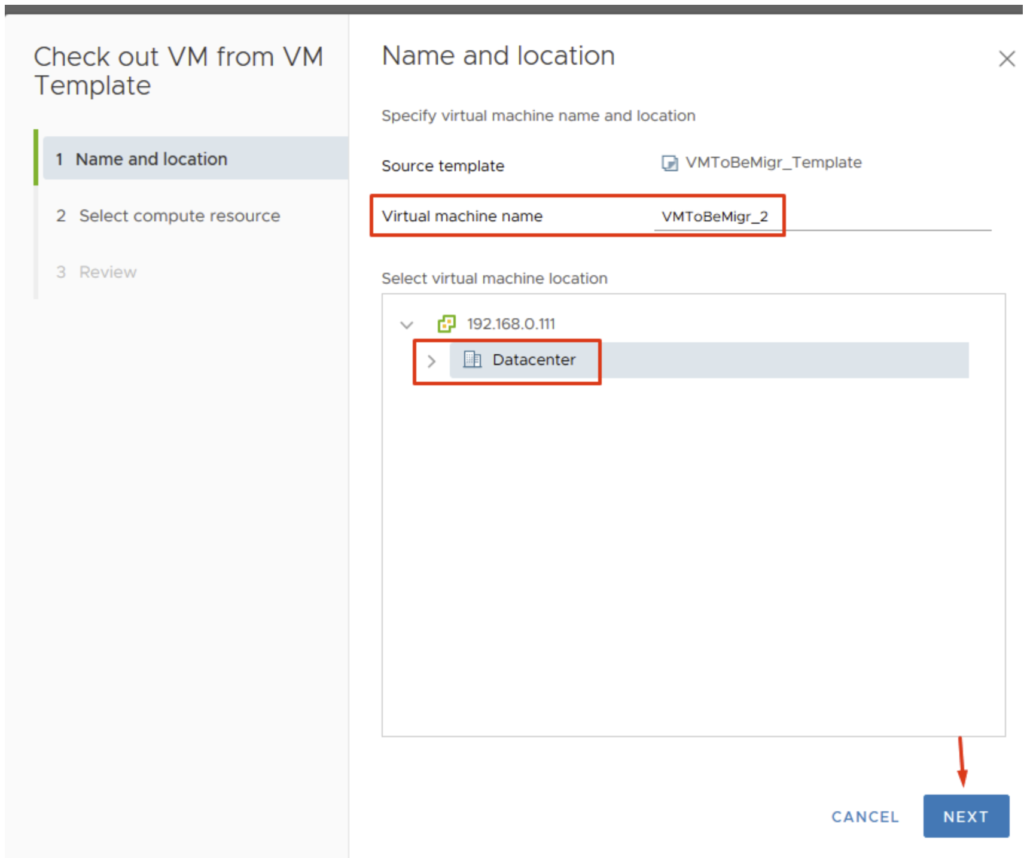
Let’s try to Check Out a VM from the new template. Go to Template, select Versioning option and press Check Out VM from this template.

Specify Virtual machine name and location then press Next.
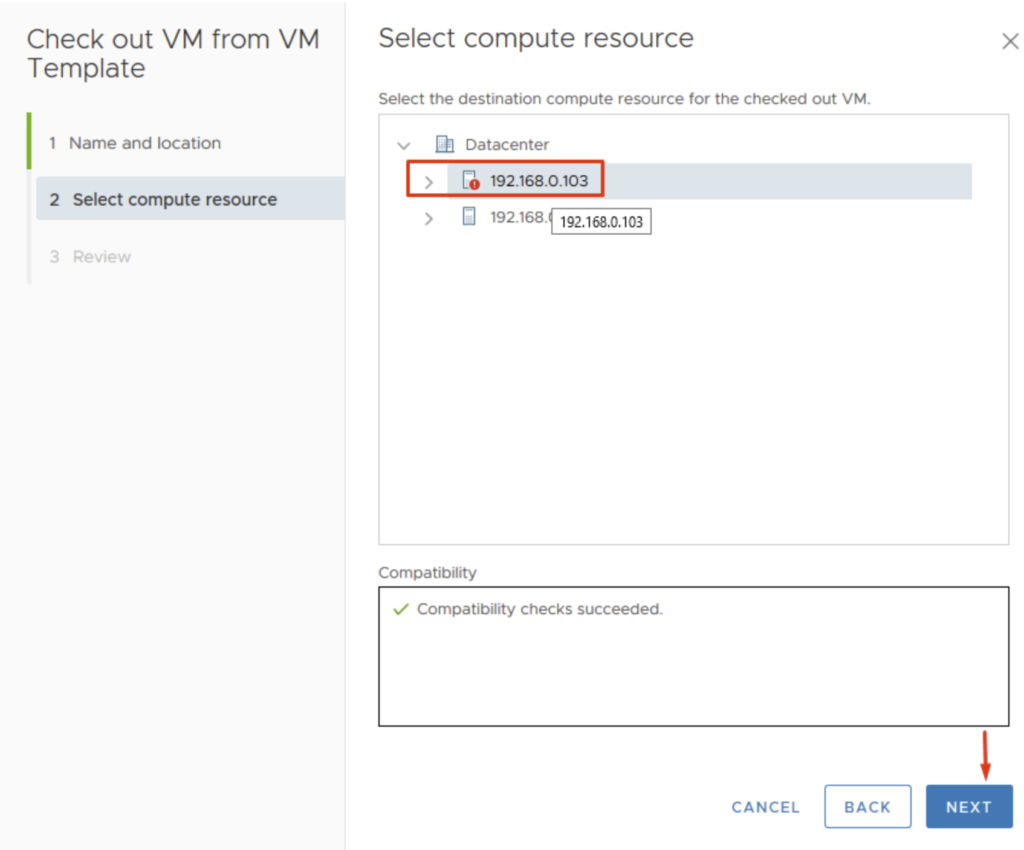
Select destination compute resource for the checked out VM.
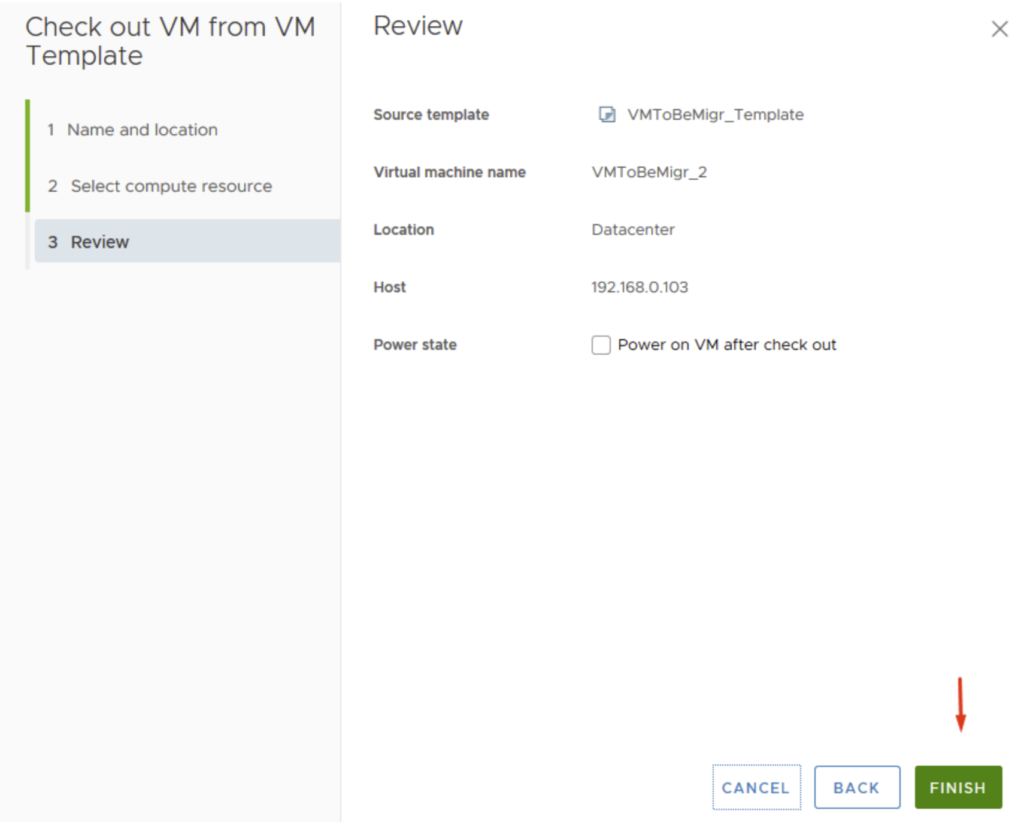
Review all settings and press Finish.
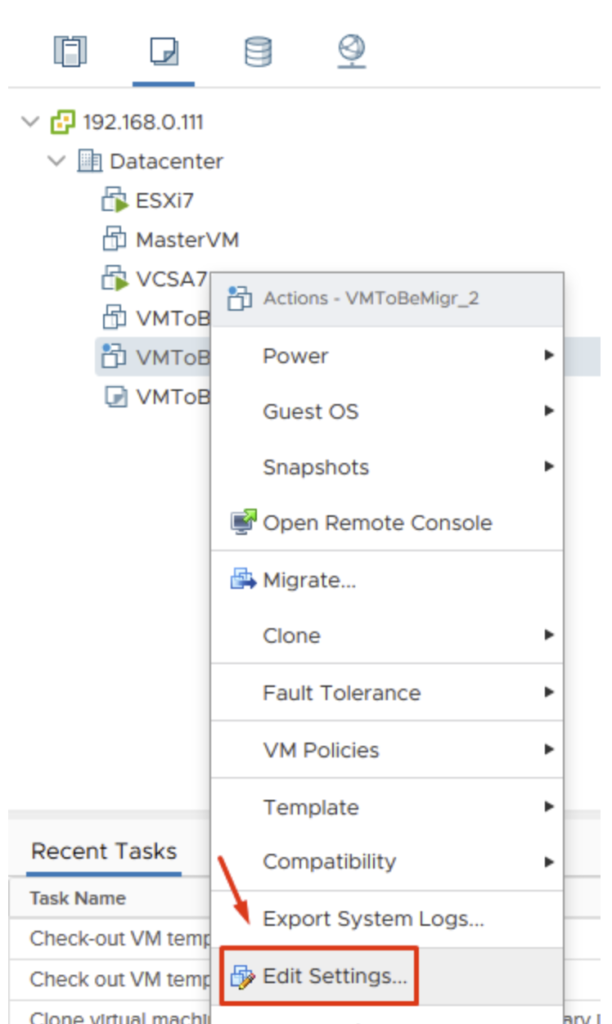
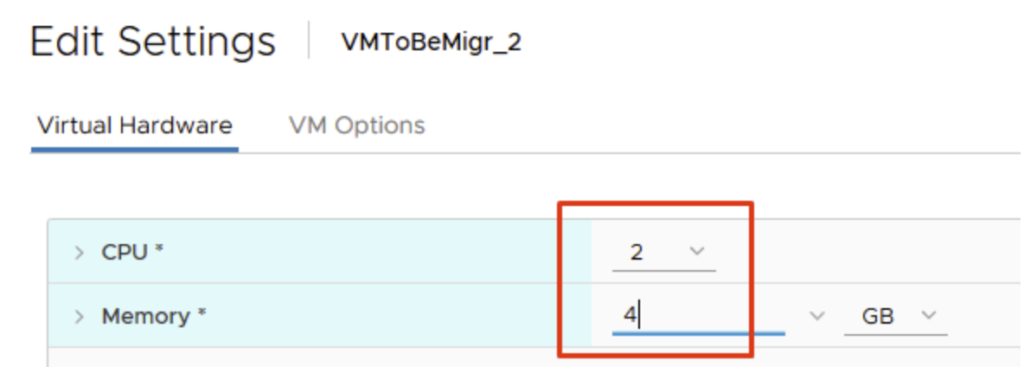
Before to power on the VM let’s modify the VM settings – right click on VM, select Edit Settings.
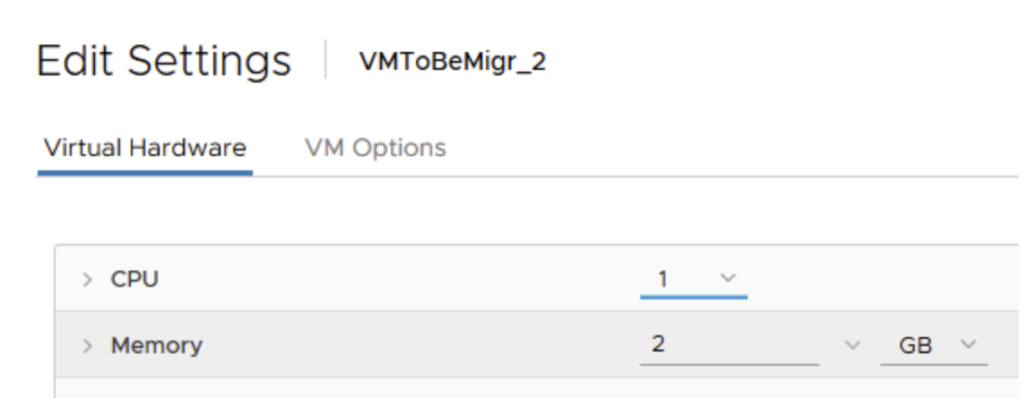
I’ve added one more CPU and 2 GB memory.
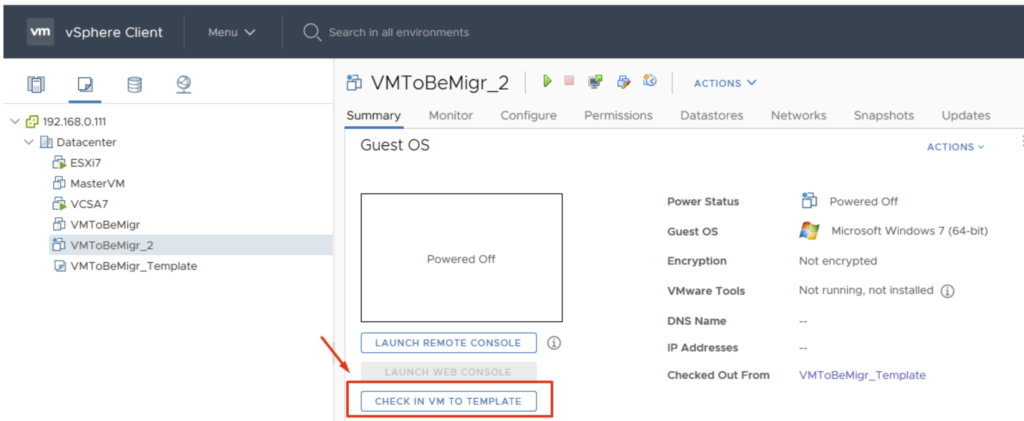
Once done, I’ve used the action button Check In VM to Template.
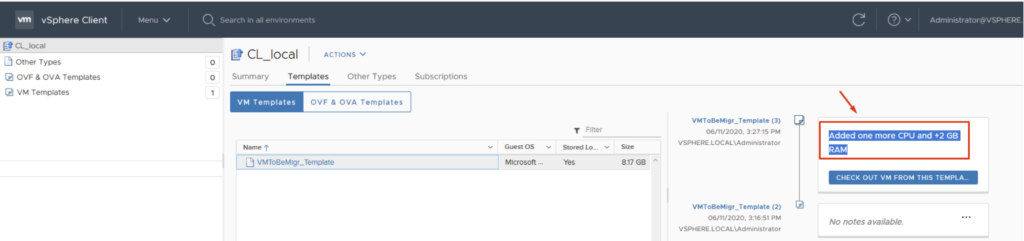
I put some notes, so I’ll know what modification I have done. Then click the Check-In button.

Once I’ve checked in, the VM template has an audit trail, or versioning to keep track of any edits.
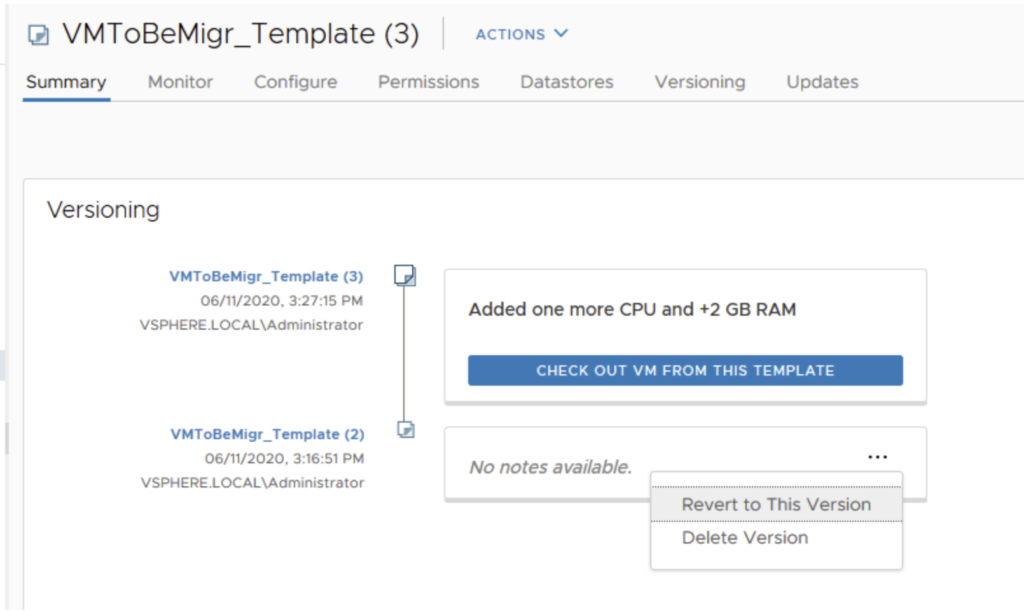
You can also revert the VM template to the previous version if changes are no longer required. Select the previous template and select the Revert to This Version option to revert the snapshot to the previous state.
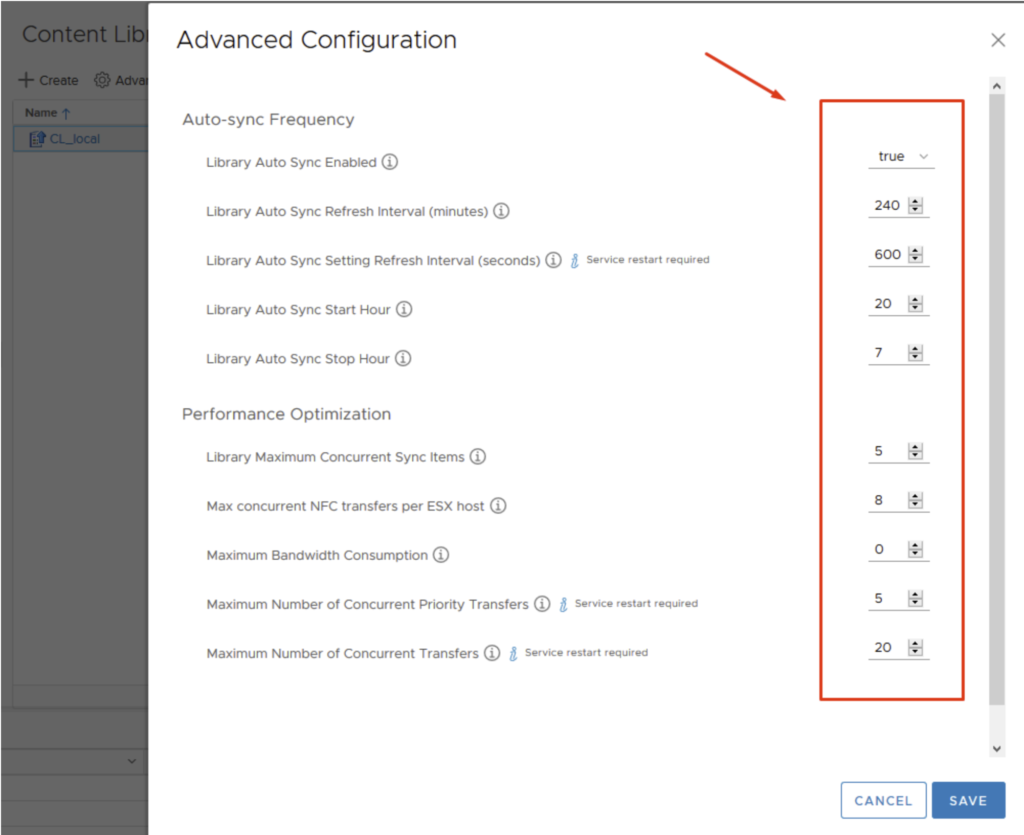
In vSphere 7, there is an Advanced button for accessing advanced configuration for Content Libraries. Click Advanced button to edit any setting.
You can edit the Auto-sync Frequency and Performance Optimization.