To deploy an Azure VMware Solution private cloud, you must have an Azure subscription associated with a Microsoft enterprise agreement, or you can deploy AVS within an Azure subscription managed by a CSP.
I begin logged into the Azure Portal with access to such a subscription. As a first step, I will request AVS host quota be applied to my subscription, in the region into which I intend to deploy my private cloud.
AVS hosts are dedicated, bare-metal servers, and there are a finite number available at any given time. Requesting host quota registers my intent to consume a given number of these hosts. You are not billed for these hosts until they are deployed. It can take up to five business days for the hosts to be allocated, so it is important to plan accordingly.
Start the host quota request process with the following steps:
- In the Azure portal, expand the upper menu control ≡
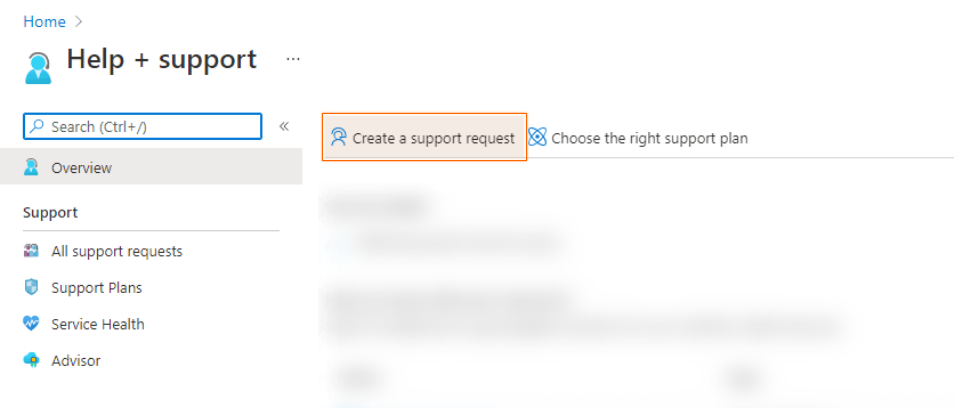
- Select Help + Support
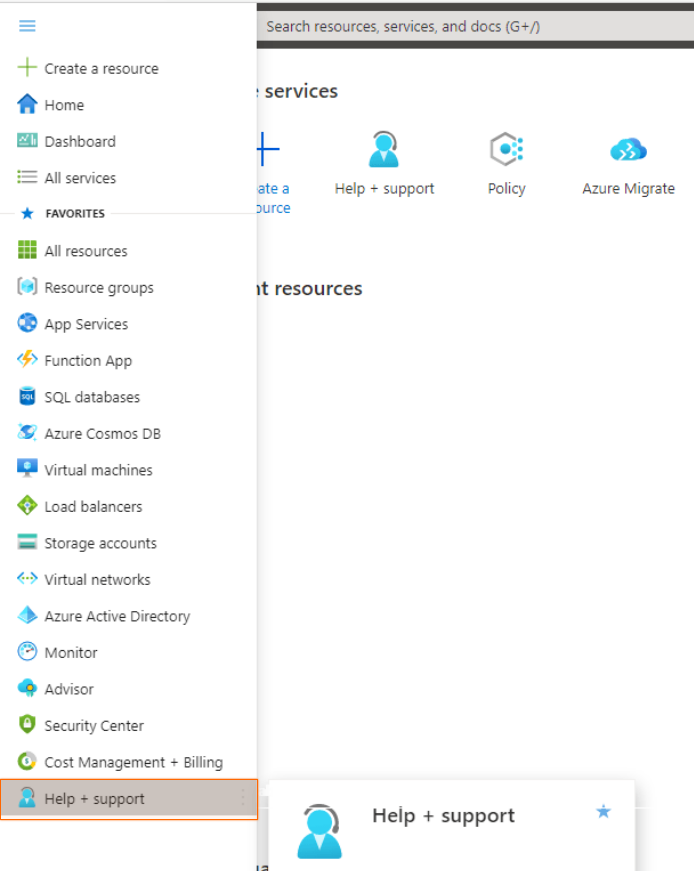
- Click Create a support request
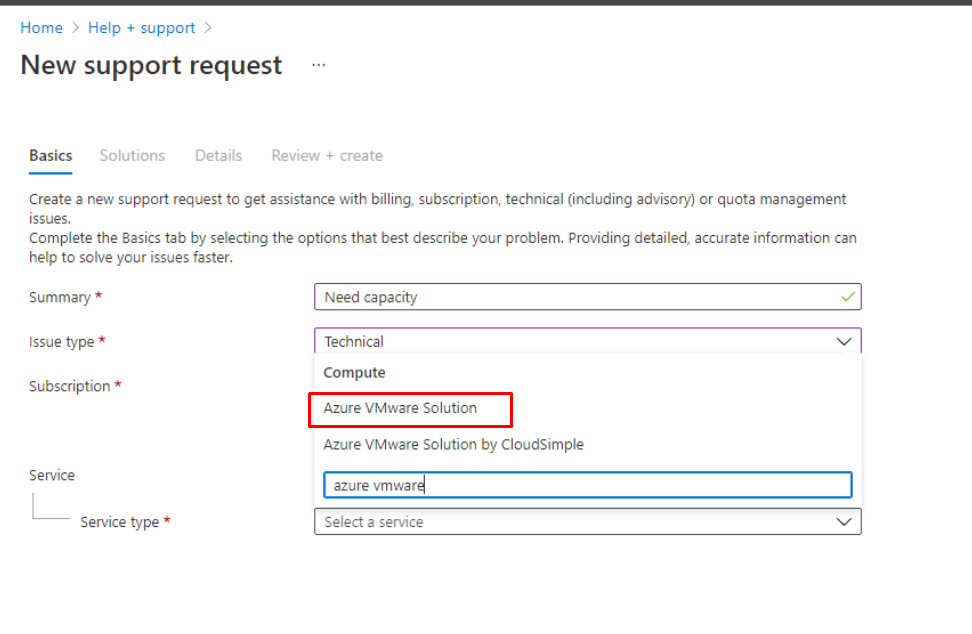
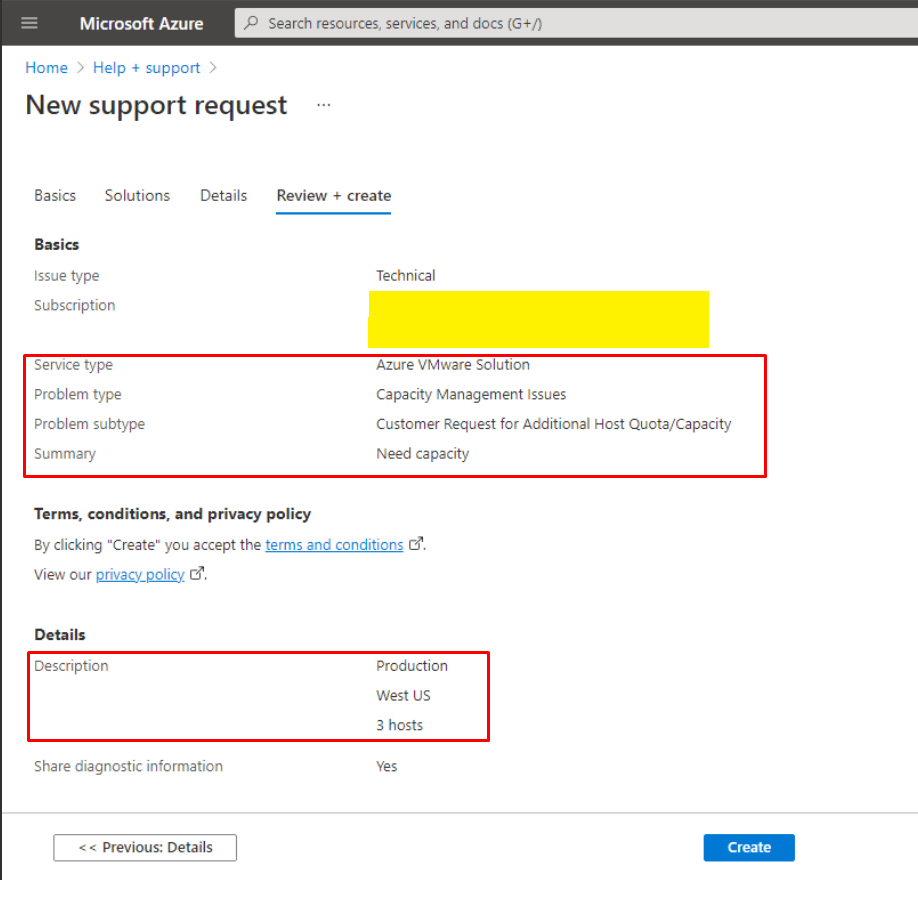
- On the Basics tab, click in the Summary field
- Type “Need capacity”
- Click the Issue type drop-down
- select Technical
- Next to Service, select All services
- Click the Service type drop-down
- Type “azure vmware solution”
- Select Azure VMware Solution
- Click the Problem type drop-down
- select Capacity Management Issues
- Click the Problem subtype drop-down
- select Customer Request for Additional Host Quota/Capacity
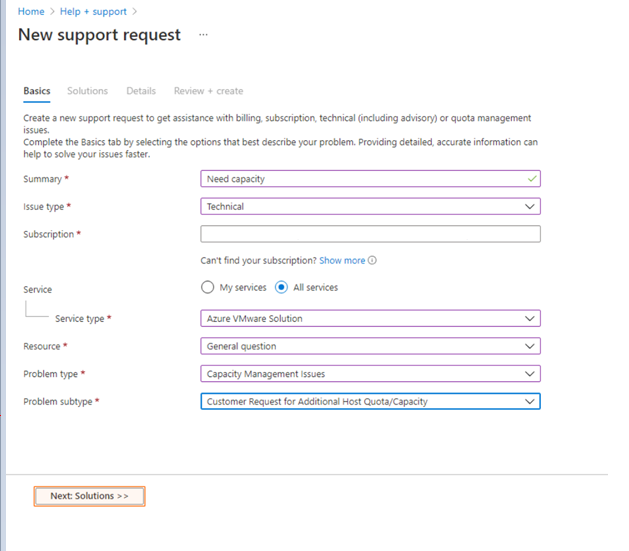
- Click Next: Solutions >>
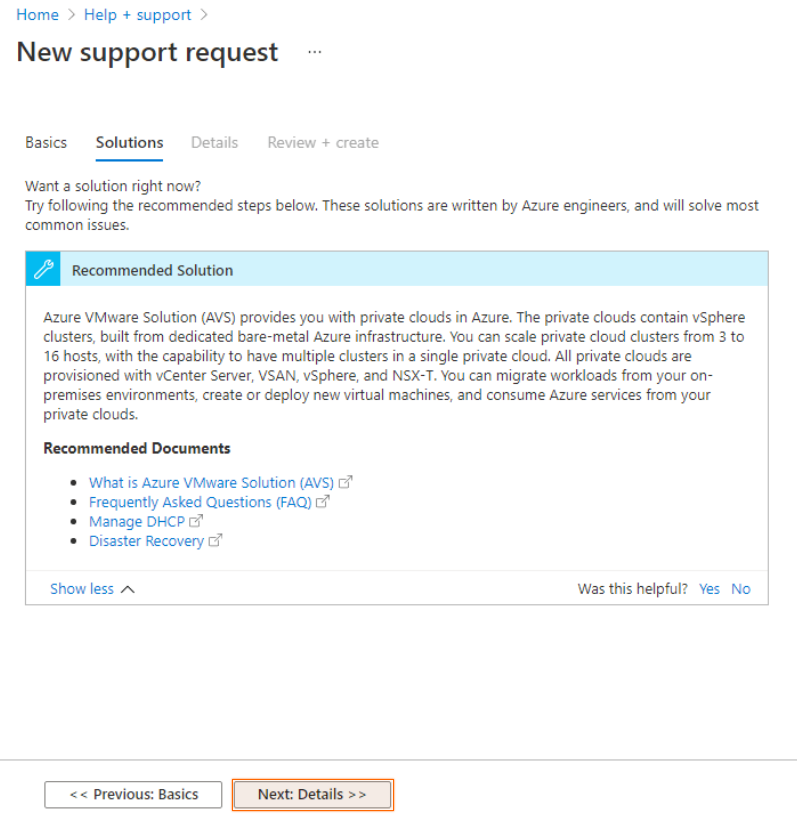
- Click Next: Details >>
- Click in the Description field
- Type “Production” and hit enter
- Type “West US” and hit enter
- Type “3 hosts”
- Click Yes next to Share diagnostic information?
- Click the scroll bar to scroll down
- Next to Preferred contact method, click Email
- Click the scroll bar to scroll down
- Click Next: Review + create >>
- Click the scrollbar to scroll down and review the request
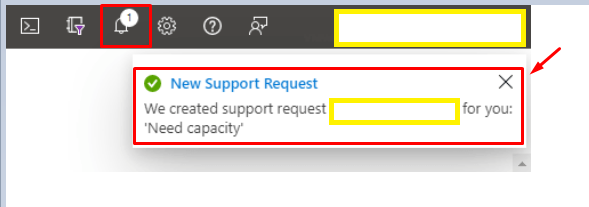
- Click Create
You will receive an email within five business days informing you that host quota has been assigned. We will proceed assuming this has been completed.
Next, we need to confirm that the Microsoft.AVS resource provider in registered in your subscription.
- Click Home
- Click on the AVS subscription
- Click the scroll bar in the Resource Menu to scroll down
- Click Settings > Resource providers
- Click the Filter by name bar
- Type “Microsoft.AVS” and hit enter
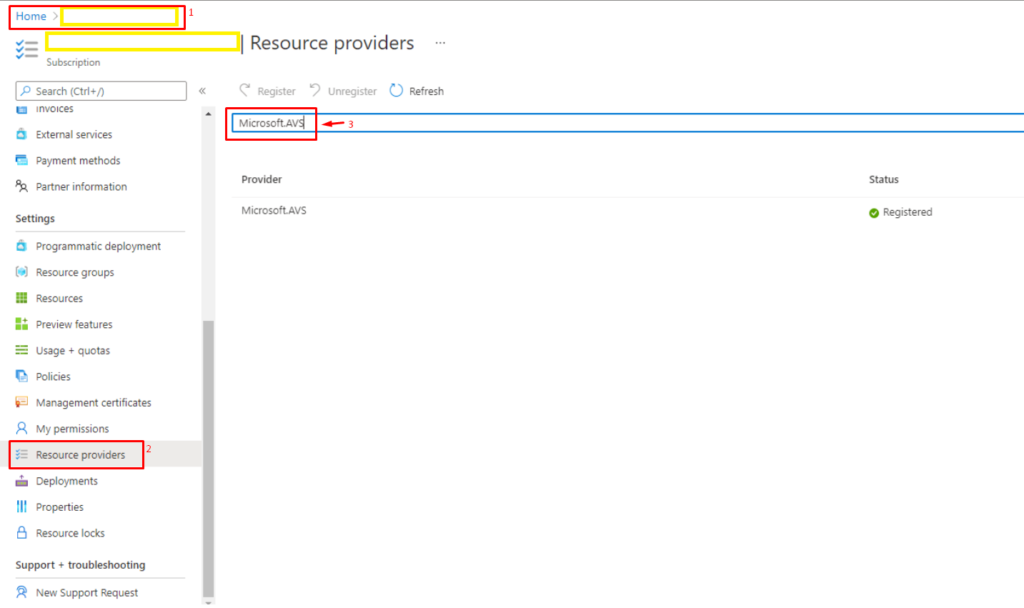
The view will filter. Note that the Microsoft.AVS provider is already registered. If status was “Unregistered,” we could register it by clicking on the Microsoft.AVS row, then clicking Register.
Next, we will create a new Azure resource group for our AVS private cloud and related objects.
- Click Home
- Click Create a resource
- Click in the Search services and marketplace box
- Type “Resource group” into the search bar
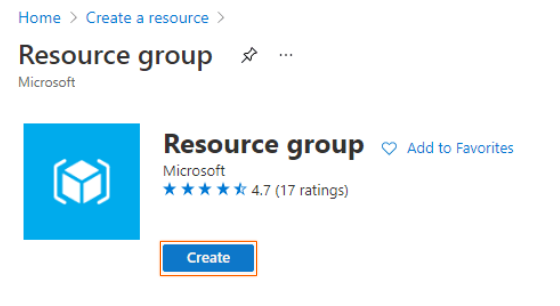
- Select the “Resource group” item
- Click Create
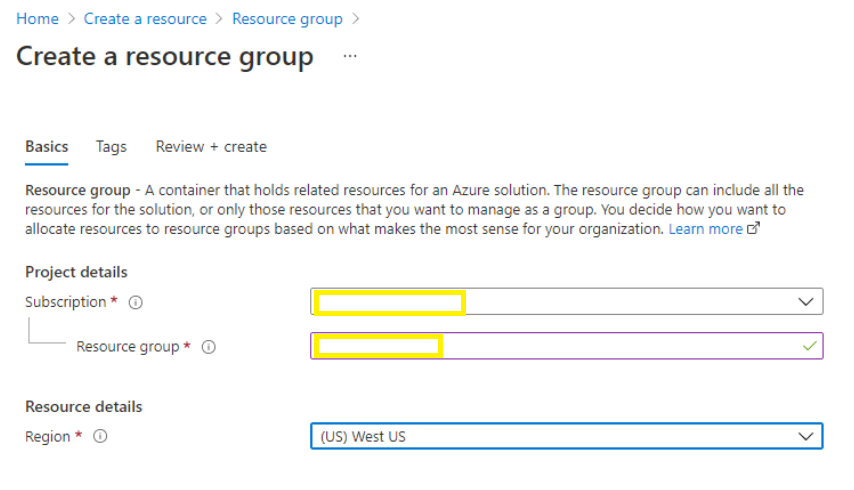
- The Subscription will be pre-populated. Click into the “Resource group” field
- Enter “<your resource group name>-RG” for the name
- Click the Region drop-down
- Click the scroll bar
- Select Location
- Click Review + create
- Click Create
- When prompted that the resource group has been created, click Go to resource group
Deploy the AVS private cloud
Now we will deploy the AVS private cloud.
- From the resource group view, click Create
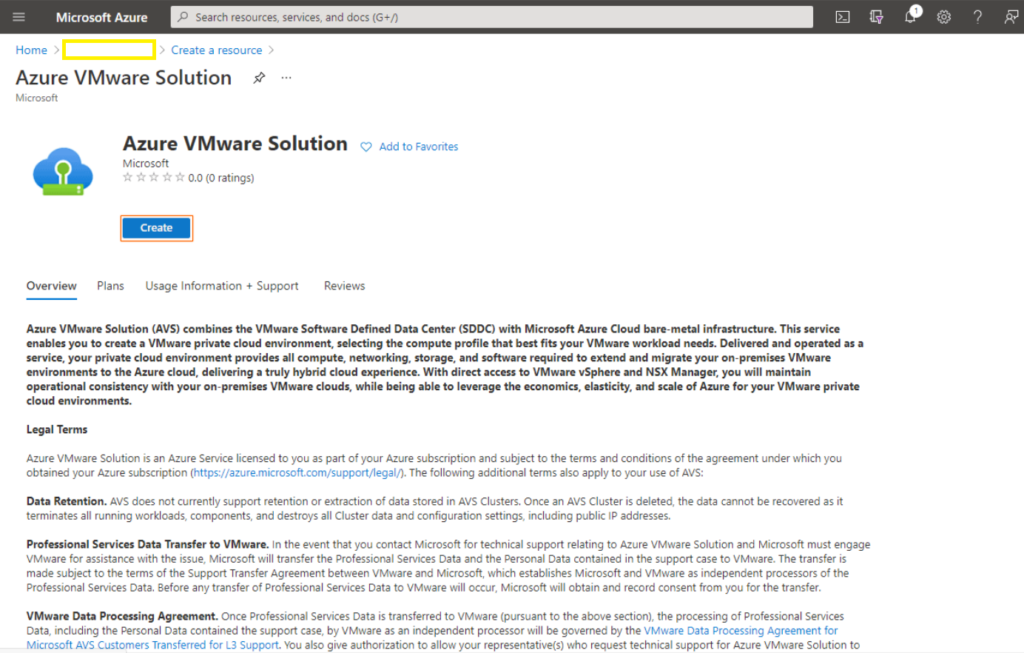
- Click in the Search services and marketplace box
- Type “Azure VMware Solution” into the search bar
- Select the “Azure VMware Solution” item.
- Click Create
- The “Create a private cloud” wizard opens. The “Prerequisites” tab reminds us of the need to have host quota assigned and a /22 network available. Click the scroll bar to view the full content.
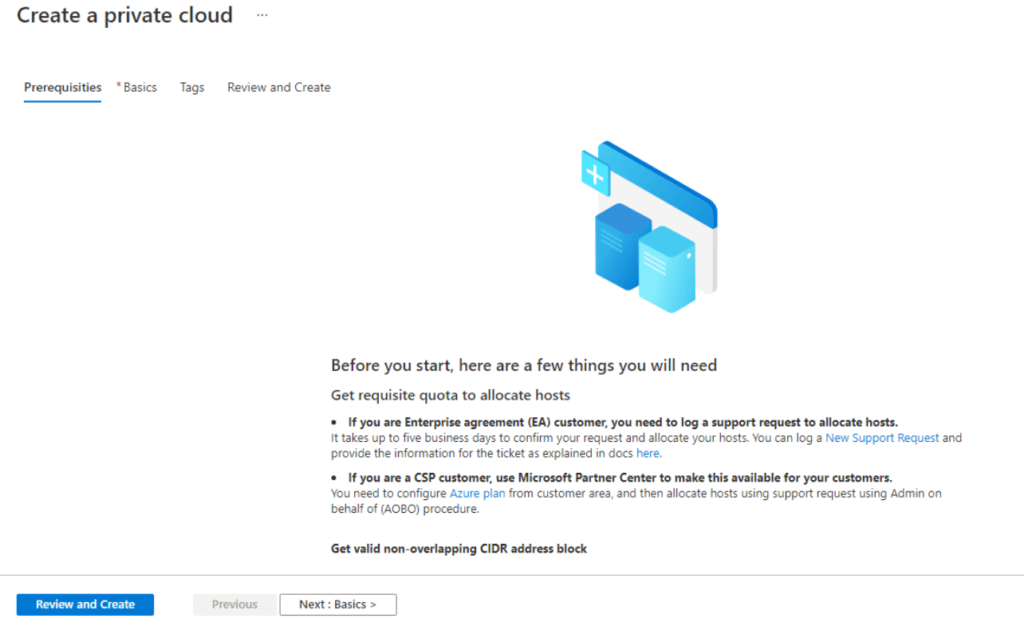
- Click Next: Basics >.
- Subscription and resource group will be pre-populated with the appropriate values. Click into the Resource name field
- Type “Resource Name”
- Click the dropdown next to Location
- Select Location
- Click the dropdown next to Size of host
- Select AV36 Node
Leave Number of hosts set to 3
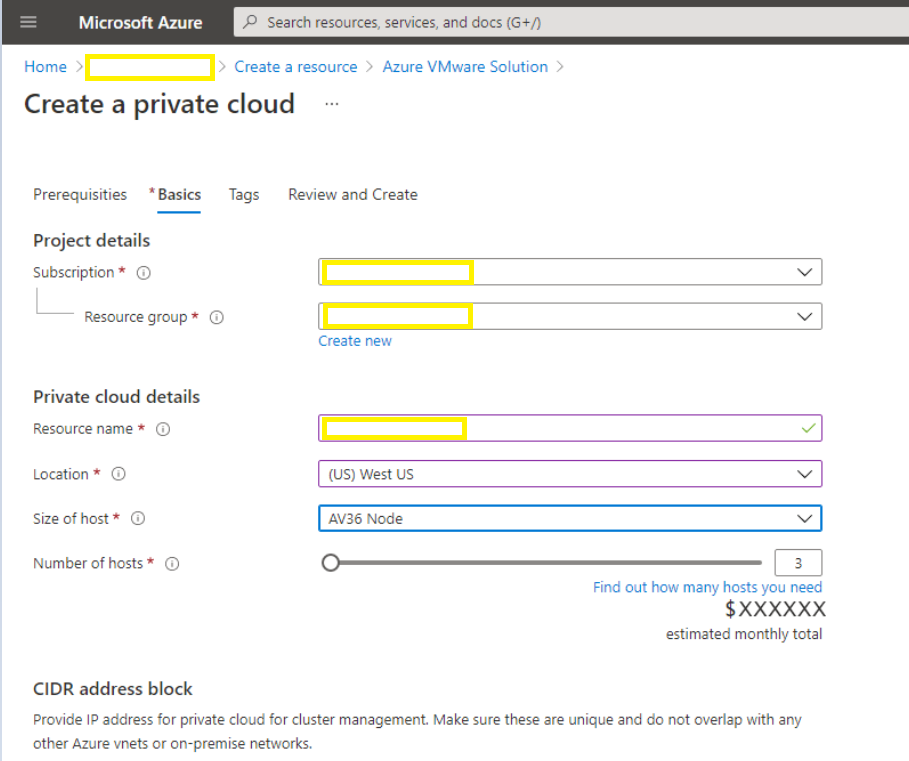
- Click the scroll bar to scroll down
- Click into Address block for private cloud field
- Enter “<IP>/22”
- Click Review + create

- Review the settings specified. Click the scroll bar to scroll down
- Click Create. The deployment process can take a few hours to complete. Through the magic of editing, we have reduced this somewhat.
- When the deployment is complete, click Go to resource
Connect the AVS private cloud to a new Azure virtual network
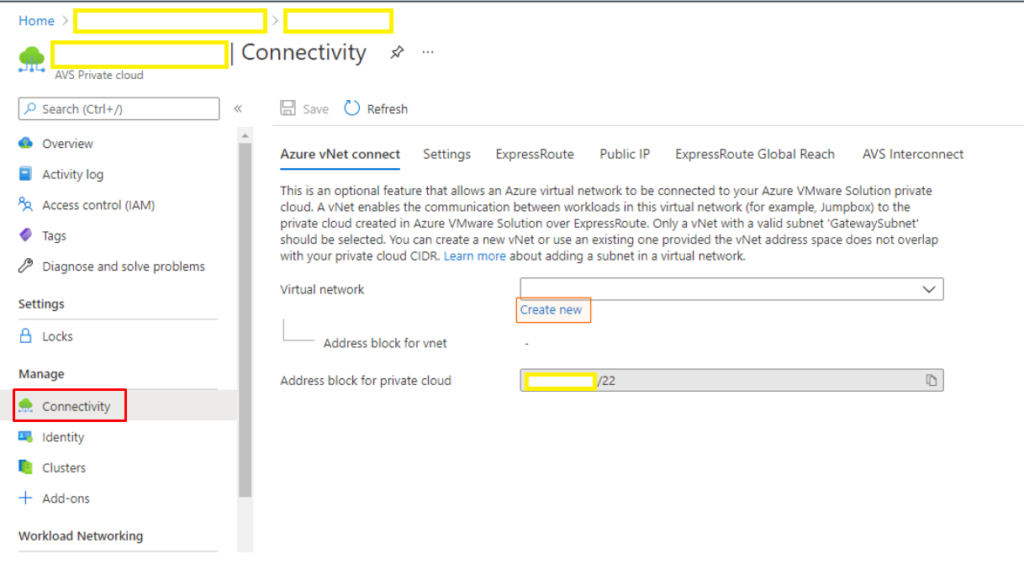
We can see now that our AVS Private cloud has been deployed. Now, we need to connect it to an Azure virtual network so that we can access vCenter and NSX Manager from a jumpbox that we will deploy into that virtual network. We will create a new Azure virtual network and connect our AVS private cloud to it with the Azure vNet Connect feature. We will assign non-overlapping IP space for this new virtual network and create three subnets within it.
- Under Manage, click Connectivity
- The Connectivity pane will open to the Azure vNet connect tab. Under the Virtual network dropdown, click Create new
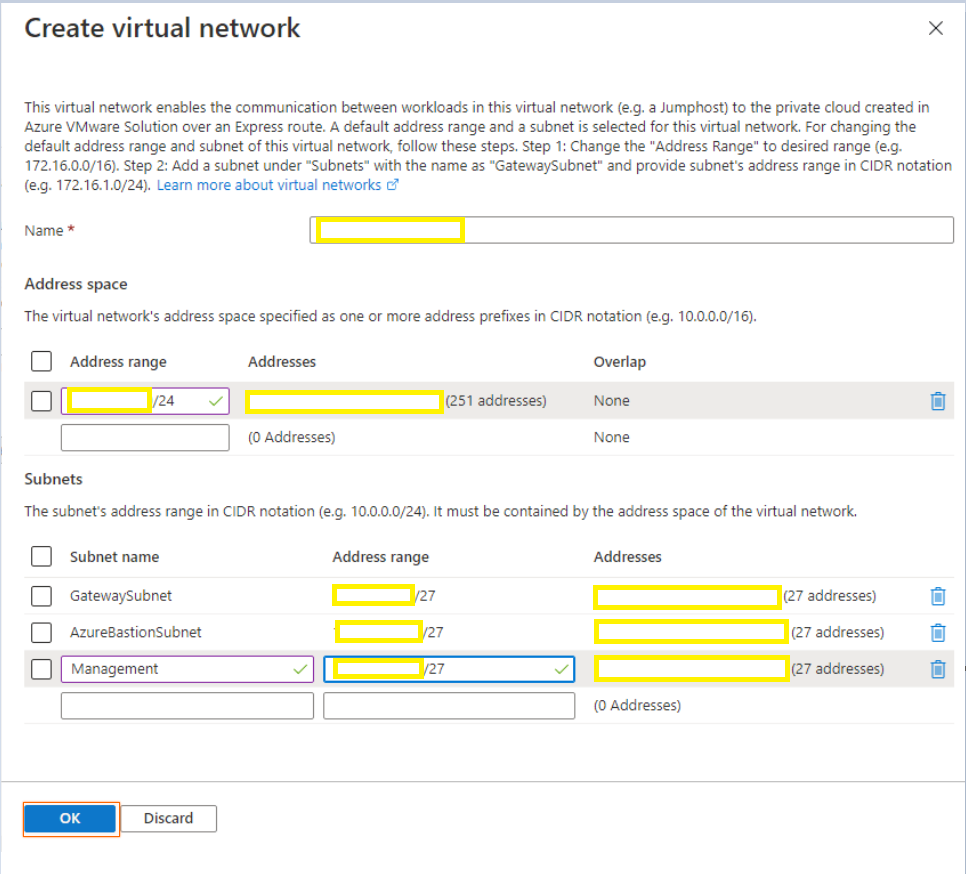
- Leave the default VNet name but click on the pre-populated address range of<IP>/16 to edit it.
- Enter <IP>/24
- Click in the empty field under Subnet name
- Enter GatewaySubnet
- Click in the Address range field
- Enter <IP>/27. This subnet will be used by the Virtual Network Gateway that will be deployed to connect the new VNet to the ExpressRoute circuit supporting the AVS private cloud.
- Click in the empty field under GatewaySubnet
- Enter AzureBastionSubnet
- Click the Address range field
- Enter <IP>/27. This subnet will be used for Azure Bastion connectivity to a jumpbox VM.
- Click in the empty field under AzureBastionSubnet
- Enter Management
- Click the Address Range field
- Enter <IP>/27. This subnet will be used for the jumpbox VM we deploy later.
- Click OK
- Click Save
- The new VNet and supporting objects will be deployed. When deployment is complete, click the Resource group link to <your resource group name-RG>
Access vCenter from the connected Azure VNet
Next, we will deploy Azure Bastion and a Windows 10 VM to use as an administrative jumpbox, then log into the Windows 10 VM with Bastion to access vCenter.
- From the resource group view, click Create
- Click in the Search services and marketplace box
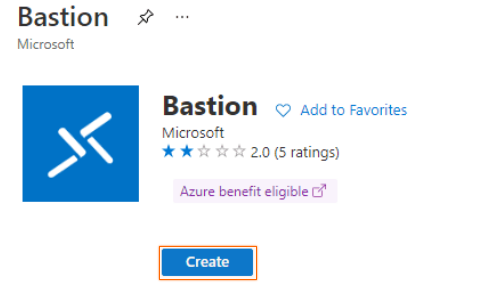
- Type “Bastion” into the search bar
- Select the Bastion item.
- Click Create
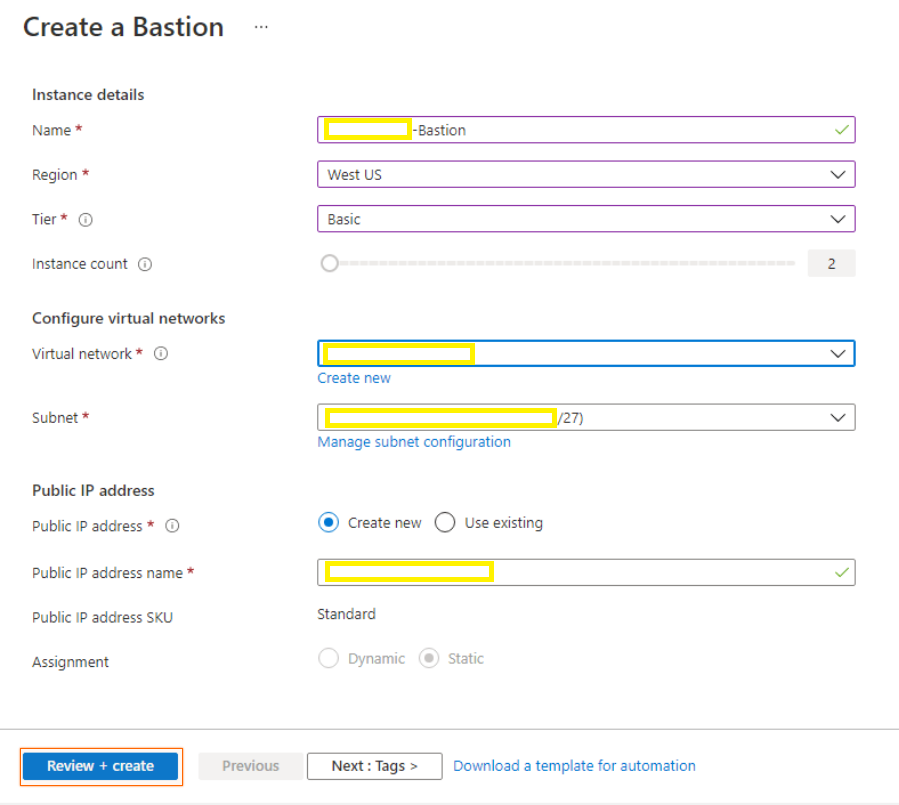
- Subscription and resource group will be pre-populated with the appropriate values. Click the Name field
- Enter “<name-Bastion>”
- Click the Region dropdown
- Click the scroll bar to scroll down
- Select Region
- Click the Tier dropdown
- Select Basic
- Click the Virtual network dropdown
- Select <name-vnet>
- The Subnet value will auto-populate with AzureBastionSubnet. Click the scroll bar to scroll down.
- Click Review + create
- Review the settings specified and click Create
- When deployment is complete, click the Resource group link to <name-RG>.
- Click Create
- Click in the Search services and marketplace box
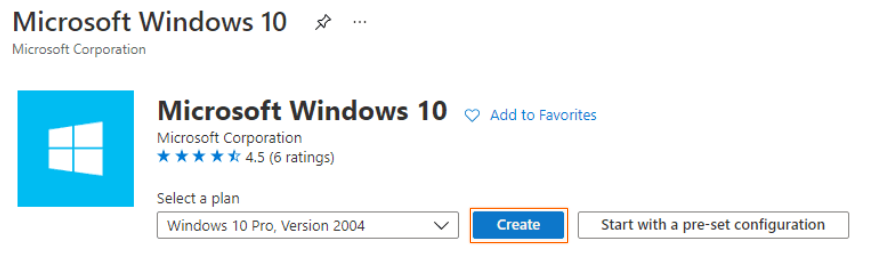
- Type “Windows 10” into the search bar
- Select the Microsoft Windows 10 item.
- Click Create
- On the Basics tab, Subscription and Resource group will be pre-populated. Click in the Virtual machine name filed
- Enter “<name-Jumpbox>”
- Click the Region dropdown
- Click the scroll bar to scroll down
- Select Region
- Click the scroll bar to scroll down
- Click in the Username field
- Enter “avsadmin”
- Click in the Password field
- Enter “********”
- Click into the Confirm Password field
- Enter “********”
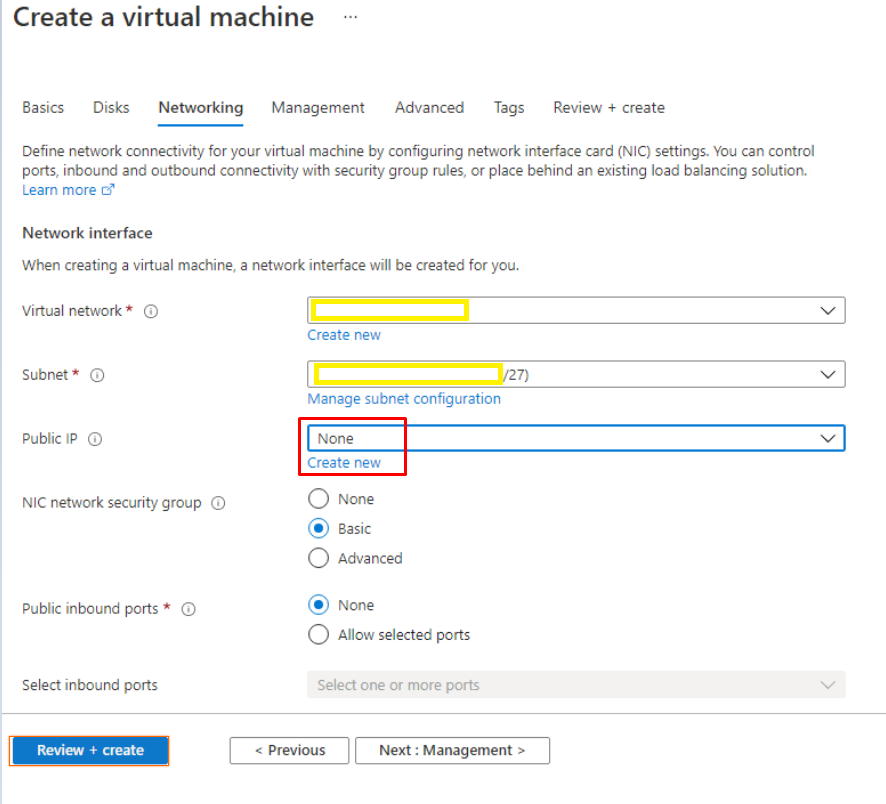
- Next to Public inbound ports, select None. We will use Azure Bastion to connect to the VM.
- Click the scroll bar again to scroll down
- Check the box next to “I confirm I have an eligible Windows 10 license with multi-tenant hosting rights.”
- Click the scroll bar to scroll back to the top
- Click the Networking tab
- Click the Public IP drop-down
- Select None
- Click Review + create
- Scroll down to review settings.
- Click Create
- When deployment is complete, click Go to resource
- Click Connect
- Select Bastion
- Click Use Bastion
- Click the Username field
- Enter “avsadmin”
- Click the Password field
- Enter “********”
- Click Connect
A new tab will open, and the Windows VM desktop will render in that open tab. We have skipped the first-time setup wizard and skipped to an open Edge tab.
- Click the browser tab to switch back to the Azure Portal tab
- Click Home
- Click AVS Private Cloud name
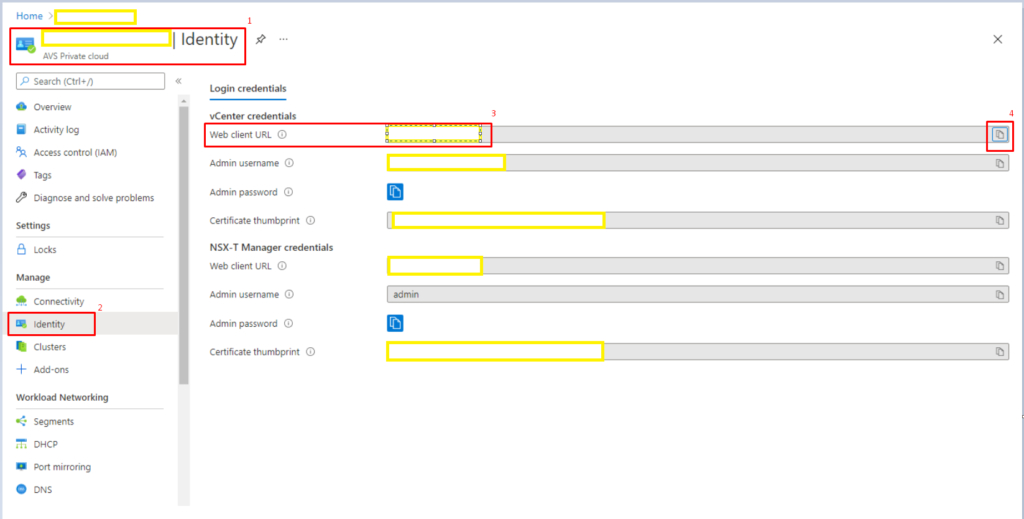
- Click Manage > Identity
- Click the Copy to Clipboard button next to the vCenter credentials > Web client URL field
- Click the browser tab <name-Jumpbox> to switch back to your Windows 10 desktop
- Right-click into the address bar
- Click Paste
- Press Enter
- Click Advanced
- Click Continue to IP (unsafe)
- Click LAUNCH VSPHERE CLIENT (HTML5)
- Click Advanced
- Click Continue to (vSphere hostname)
- Click the browser tab to switch back to the Azure portal
- Click the Copy to Clipboard button next to vCenter credentials > Admin password
- Click the browser tab <name-Jumpbox> to switch back to your Windows 10 desktop
- Click in the username field
- Type “cloudadmin@vsphere.local”
- Right-click in the Password field
- Click Paste
- Click Login
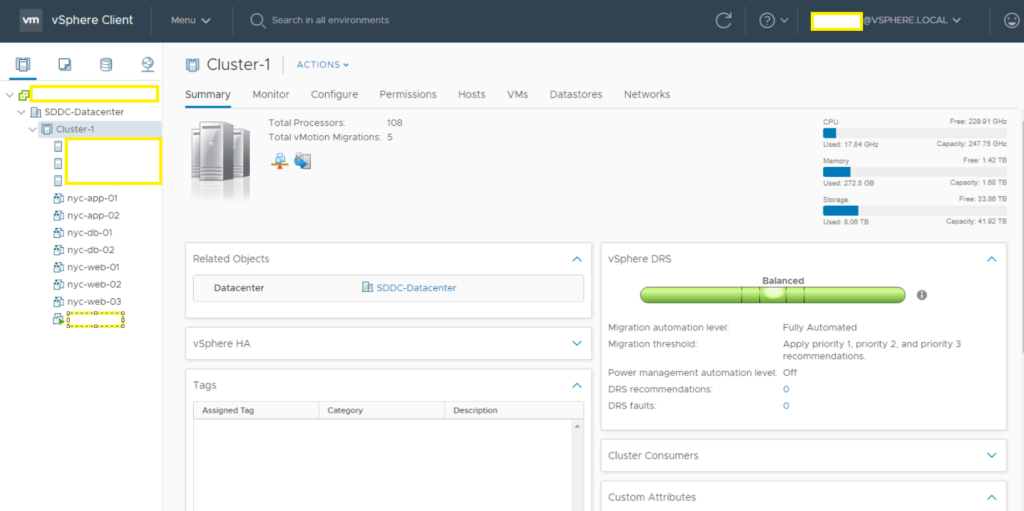
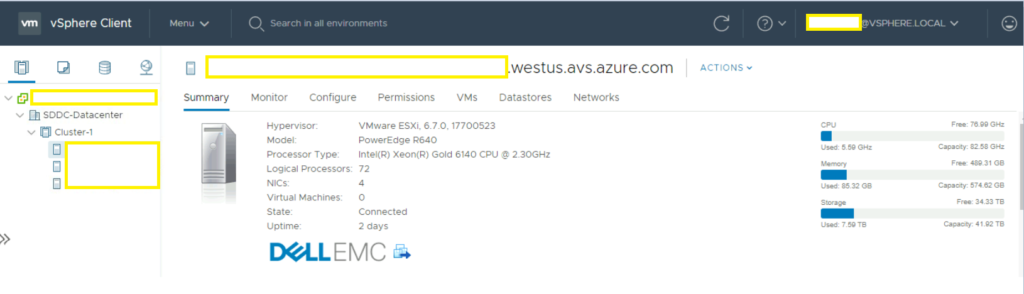
- Click to expand SDDC-Datacenter
- Click to expand Cluster-1
- Click on the first ESXi host to review summary
Connect an on-premises data center to the AVS private cloud
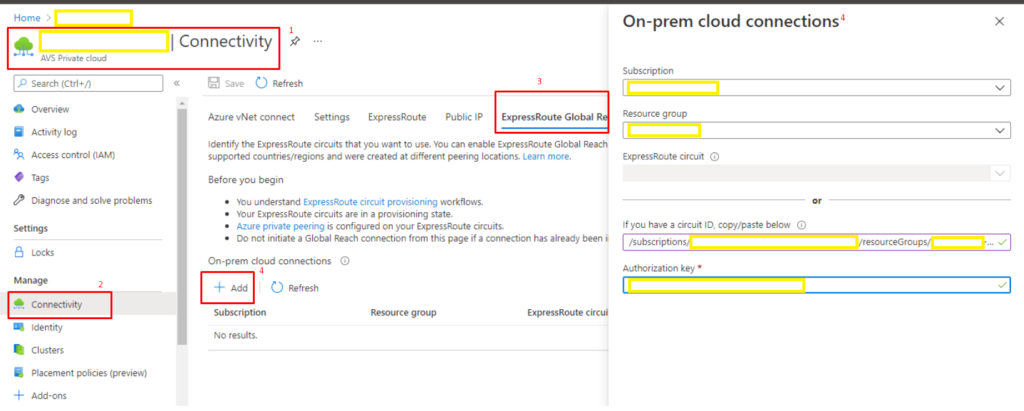
Now we have confirmed that AVS private cloud components were successfully deployed, and that we can access vCenter from our connected VNet. Next, we will step through the configuration of ExpressRoute Global Reach to allow connectivity to AVS resources from our on-premises data center.
The following steps assume that you have an existing ExpressRoute circuit connecting your on-premises datacenter to Azure, and that the party responsible for that ExpressRoute circuit can provide you with the Resource ID and an authentication key.
- Return to the tab open to the Azure portal
- click Manage > Connectivity
- Click the ExpressRoute Global Reach tab
- Click Add
- Right-click into the Enter an ExpressRoute circuit ID field
- Select Paste to paste in the ExpressRoute Resource ID
- Right-click in the Authorization key field
- Select Paste to paste in the Authorization key.
- Click Create
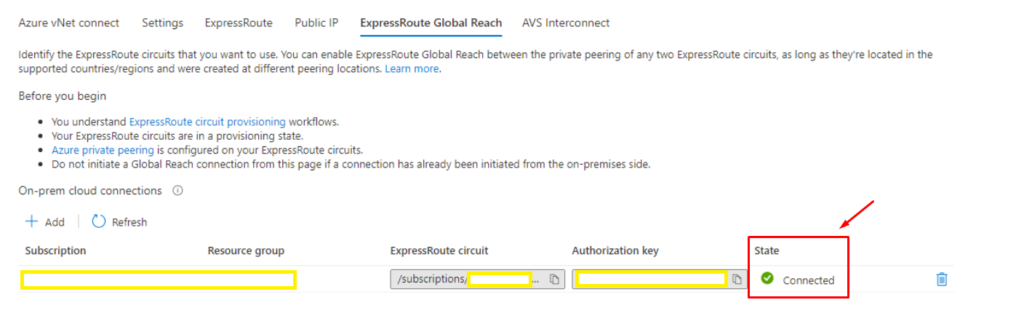
- When the cloud connection completes successfully, click Manage > Identity. We will log into vCenter again, this time from our on-premises VM.
- Click the Copy to Clipboard button next to the vCenter credentials > Web client URL field
- Click + to open a new Edge tab
- Right-click in the address bar
- Select Paste
- Hit Enter
- Click Advanced
- Click Continue to IP (unsafe)
- Click LAUNCH VSPHERE CLIENT (HTML5)
- Click Advanced
- Click Continue to (vSphere hostname)
- Click in the Username field
- Enter “cloudadmin@vsphere.local”
- Click to switch back to the AVS Identity tab
- Click the Copy to Clipboard button next to vCenter credentials > Admin password
- Click back to the vCenter client tab
- Right-click the Password field
- Click Paste
- Click Login
- Click to expand SDDC-Datacenter
- Click to expand Cluster-1 and review cluster summary