First of all, I will need to configure a custom domain in Azure, considering that I have already purchased the domain bogdanburiana.com
A custom domain in Azure is a domain name that you own and can use to make your Azure-hosted web services more accessible and branded. Instead of using the default Azure-provided subdomain (like wpbogdanburuiana.azurewebsites.net), I’ll configure my service to use a domain name I own (like bogdanburiana.com). This makes my blog look more professional and can improve user trust and SEO.
Browse to Web App > Settings > Custom domains > Add custom domain.
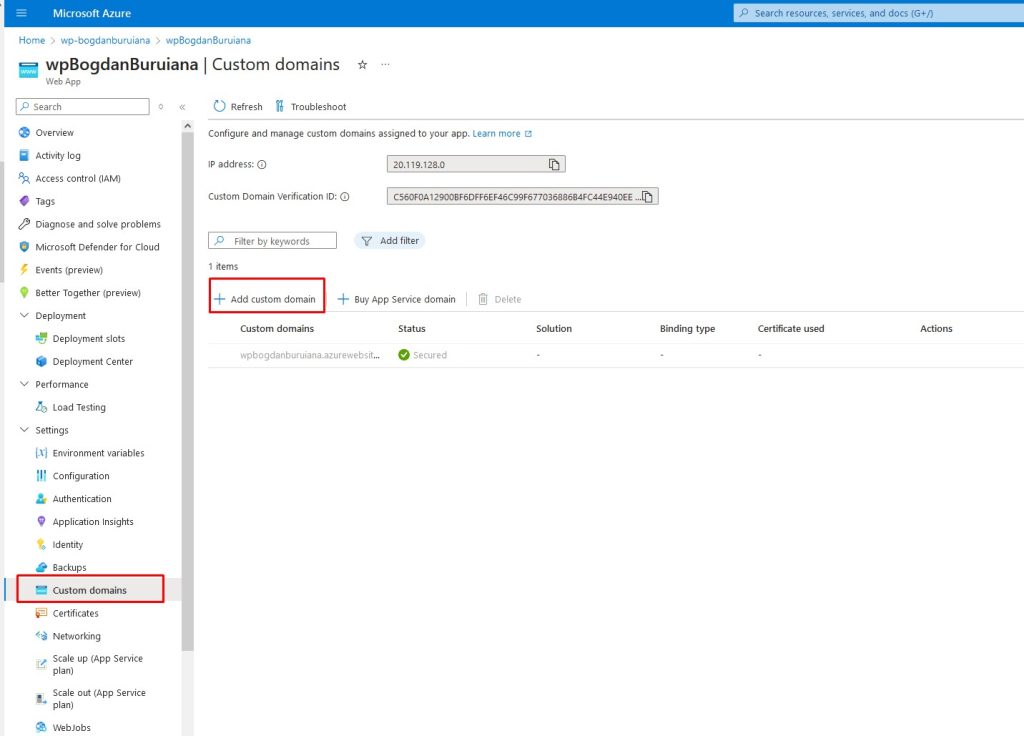
DNS settings allow you to control how your domain name is translated into an IP address, which is how servers locate and serve your website.
A DNS Zone in Azure is a container for DNS records, which define how a domain’s DNS queries are handled. It’s necessary for managing and configuring the DNS settings of a domain directly within Azure.
Create a DNS Zone
- Navigate to the Azure Portal: Go to the Azure portal (portal.azure.com).
- Create a New Resource: Click on “Create a resource” and search for “DNS Zone”.
- Fill in the Details: Provide the necessary details, such as the name of the DNS zone (e.g.,
bogdanburiana.com) and the resource group it should belong to. - Create the Zone: Click “Create” to set up the DNS zone.
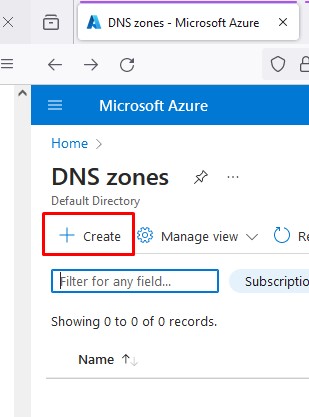
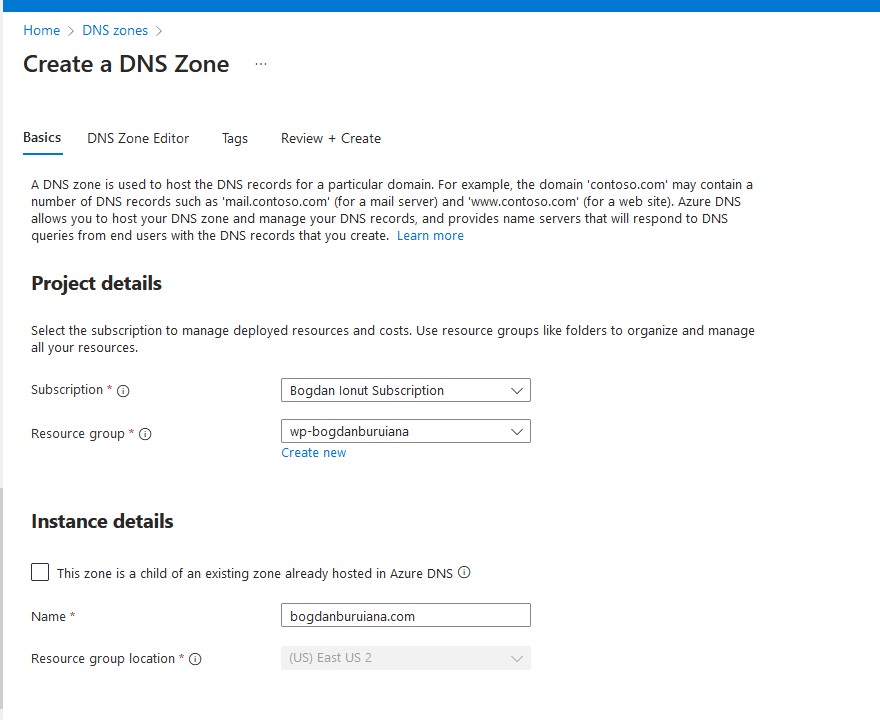
Then the next step will be to Add DNS Records
- Navigate to the DNS Zone: Once the zone is created, go to it in the Azure portal.
- Add Records: Click on “+ Record set” to add DNS records. You can add A records, CNAME records, TXT records, MX records, etc., depending on your needs.
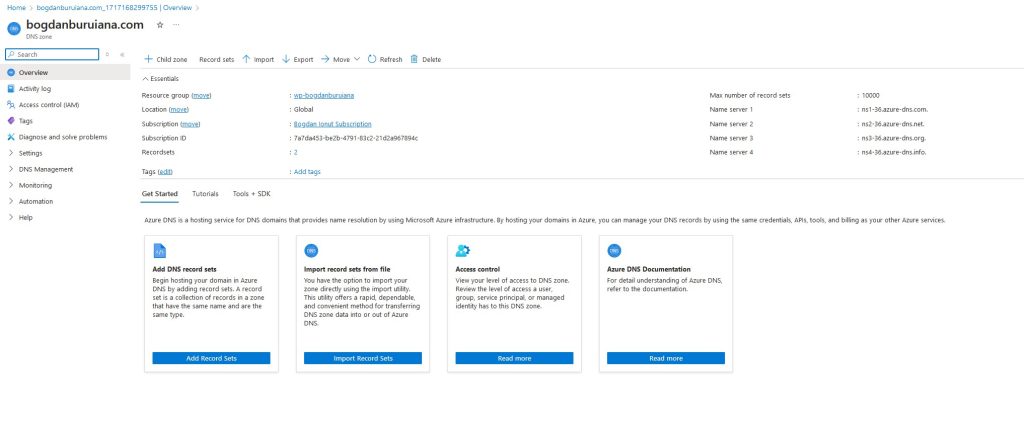
An A record points to the IP address of Azure-hosted WordPress site.
- Name: @ (or leave it blank, depending on the registrar) field specifies which part of your domain this record applies to. Using “@” or leaving it blank usually applies this record to the root domain (e.g.,
bogdanburiana.com). - Type: A – an “A” (Address) record maps your domain name to an IPv4 address. This is necessary so that when someone types
bogdanburiana.cominto their browser, it resolves to the specific IP address where your site is hosted. - TXT (Text) record is used to store text information in the DNS. It is often used for domain verification, email validation (SPF, DKIM), and other purposes.
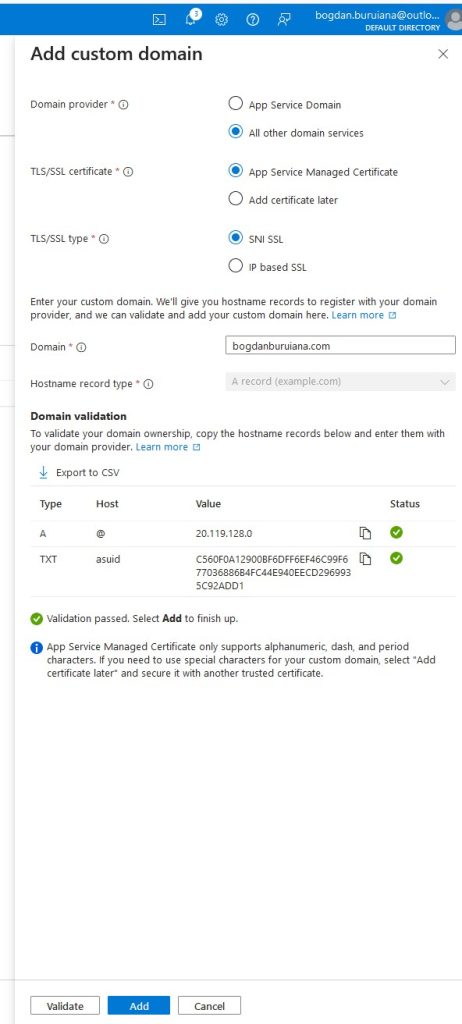

As soon as I add this domain, you will notice that it shows ‘No binding’. It means that the custom domain has been added to my Azure App Service, but it hasn’t been configured to properly bind to the specific SSL/TLS certificate.
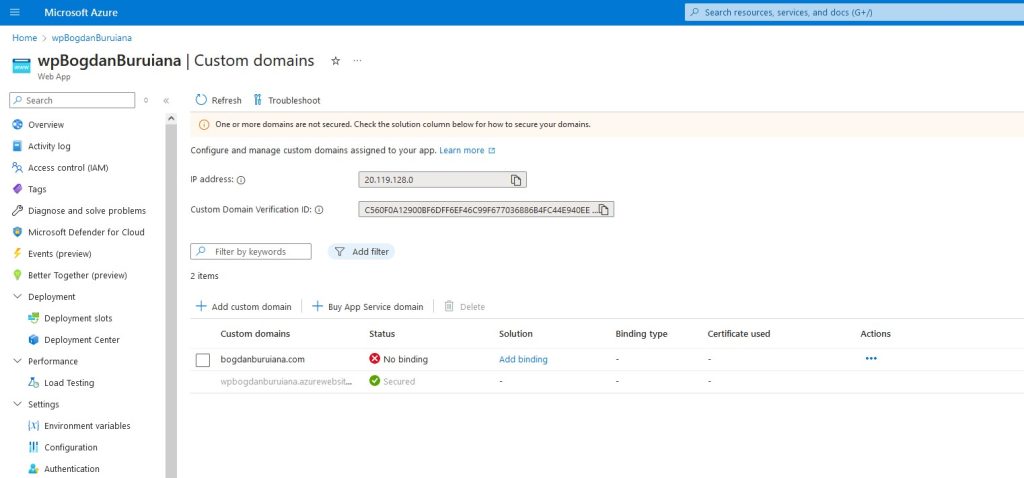
Why SSL/TLS Binding is Important
- Security: Ensures that data transferred between the server and clients is encrypted.
- Trust: Helps build trust with your users as modern browsers often flag unencrypted sites as insecure.
- SEO Benefits: Search engines favor secure websites, potentially improving your site’s ranking.
Azure provides free certificates through App Service Managed Certificates (limited to custom domains without subdomains like ‘www’. So I’ve created one.
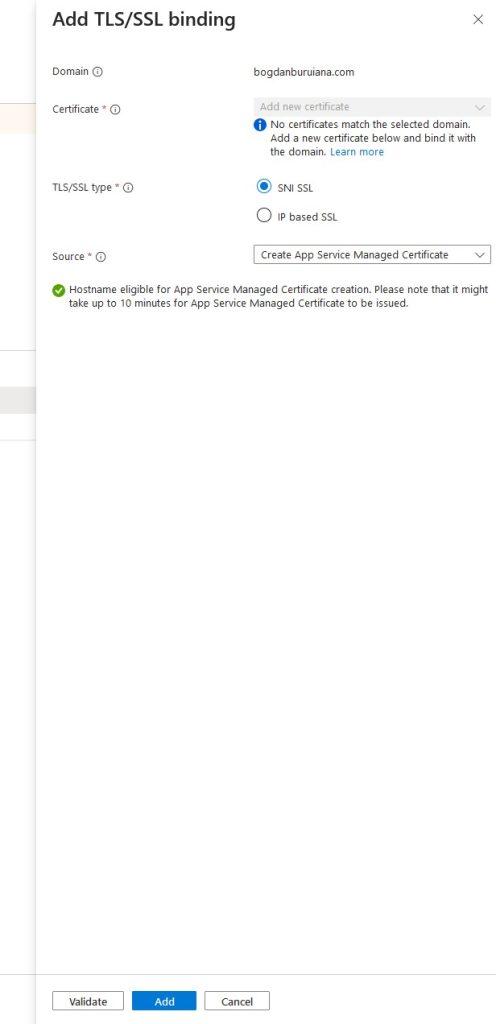
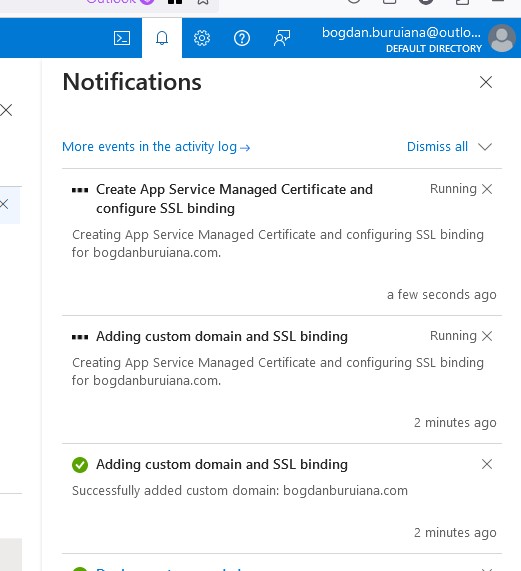
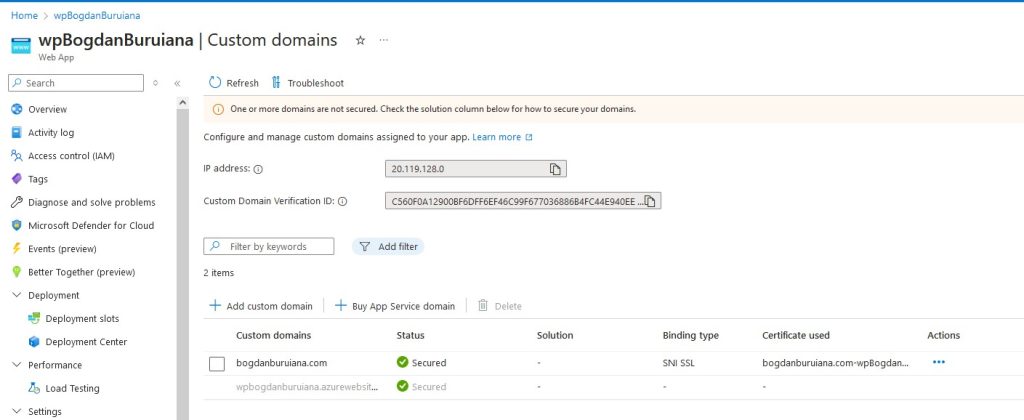
And here you go, everything is in place now: Domain ownership is verified, and the SSL/TLS certificate is added and bound