What is a Nested ESXi solution ?
It is referring to virtualize your virtualization environment, so ESXi will be installed as a VM, hosted itself on a physical ESXi host.
Why to use it?
Definitely is not a solution for Production but is a good one for DEV/Testing environments or for your lab to test various products/scenarious. I’ve chosen this solution for my own Lab which is currently running on a Dell PowerEdge R430 with ESXi 7 and vSphere 7 (testing purpose).
Step 1
Installed the physical server with ESXi 7, first using a USB to boot the installer.

Step 2
Installed vCenter Server Appliance (vCSA) on ESXi7
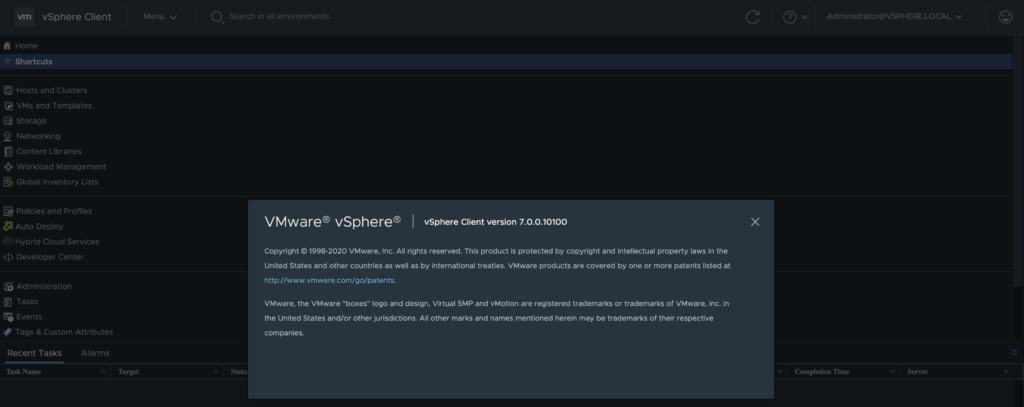
Note: I will not describe ESXi and vCSA installation here – this is not the goal of this post, there are many other articles about it, just Google it 😉 !
Step 3
Created a new VM where I have installed ESXi. I put 4 CPUs, 6 GB RAM and also checked Expose hardware assisted virtualization to the guest OS.
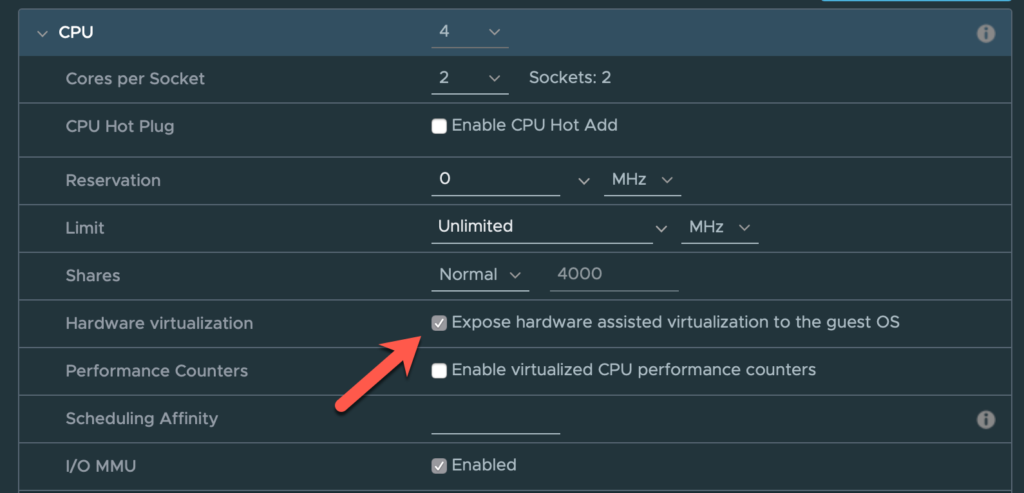
I would recommend to use thin provisioned disks.
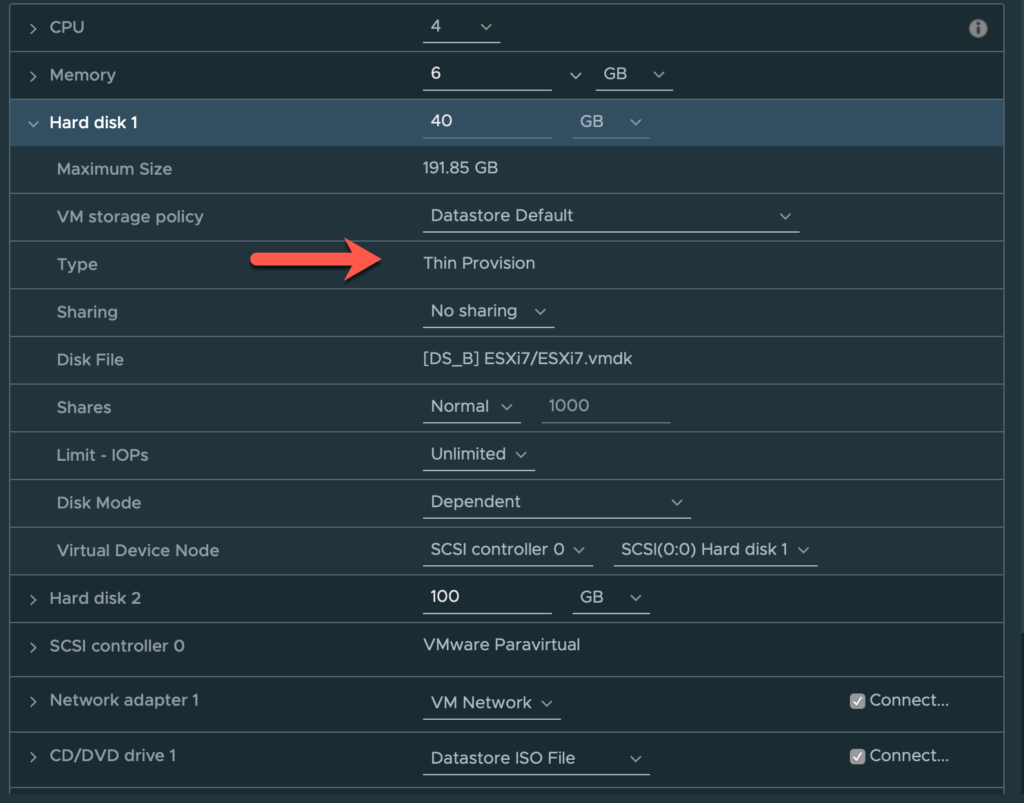
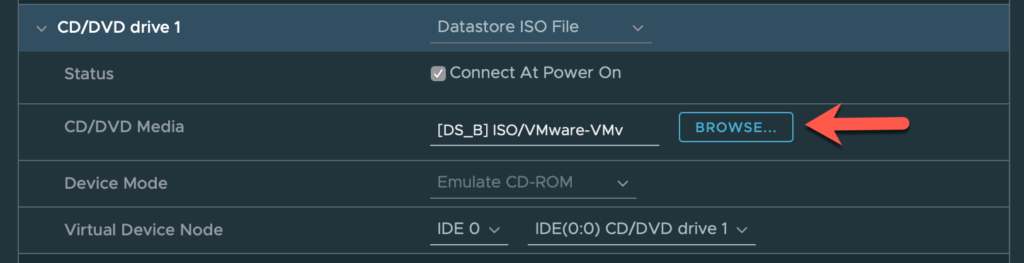
CD/DVD Media – make sure you will choose ESXi installer and check Connect as Power On.
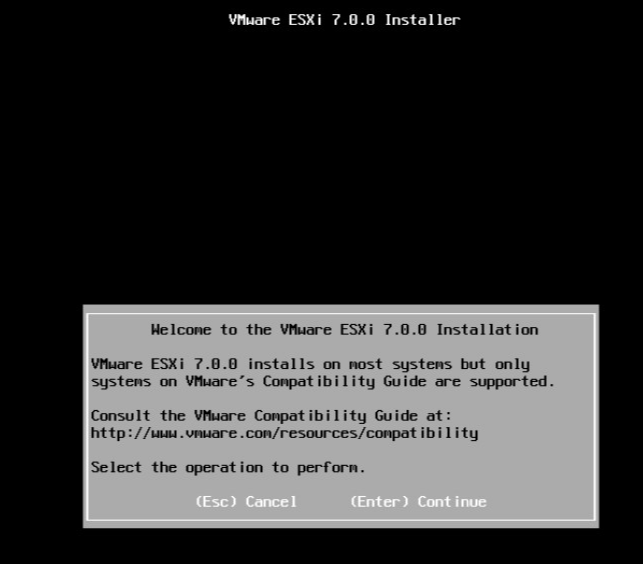
Step 4
Start the new VM and install ESXi.
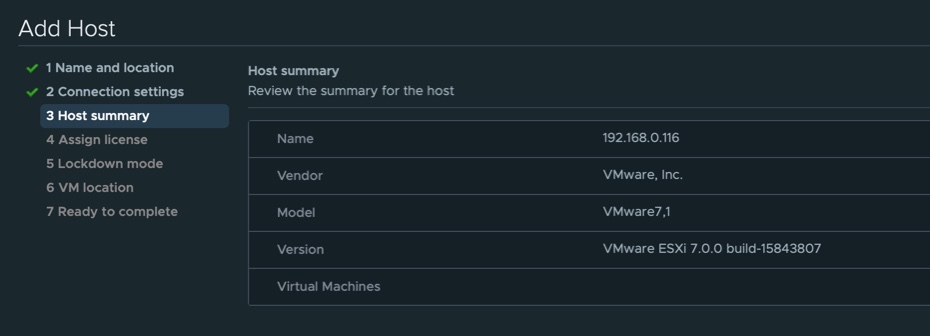
Now we have the second ESXi 7 host where IP address is 192.168.0.116

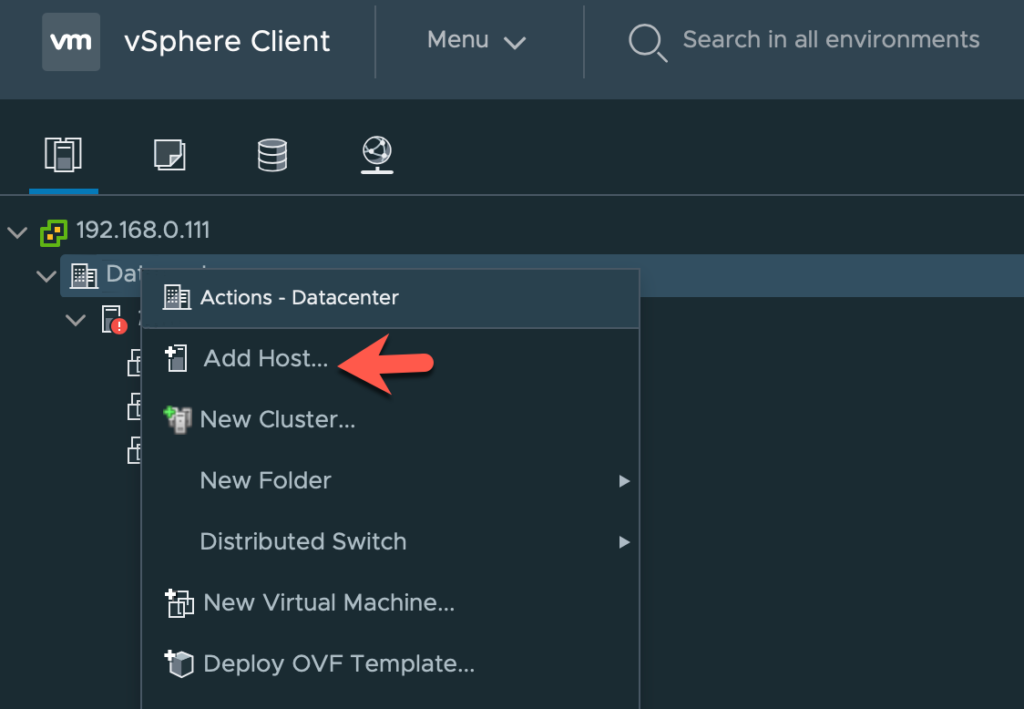
Step 5
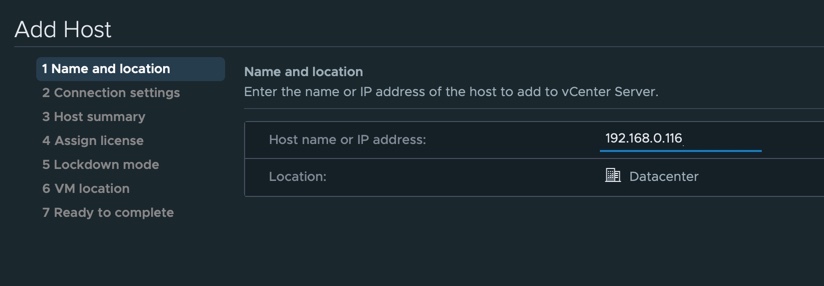
Let’s add the new host in vSphere. Right click on Datacenter and Add Host…
Fill the new IP address – 192.168.0.116 in this case, and press Next.
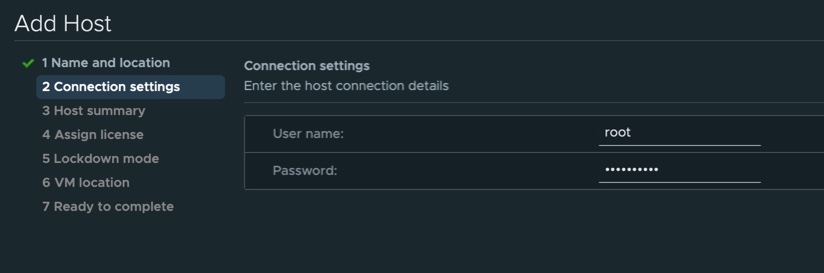
Put the connection details for the new ESXi – configured during installation.
Here you go!
Now I have 2 ESXi hosts in my Lab and I’m ready to test other VMware features 😉

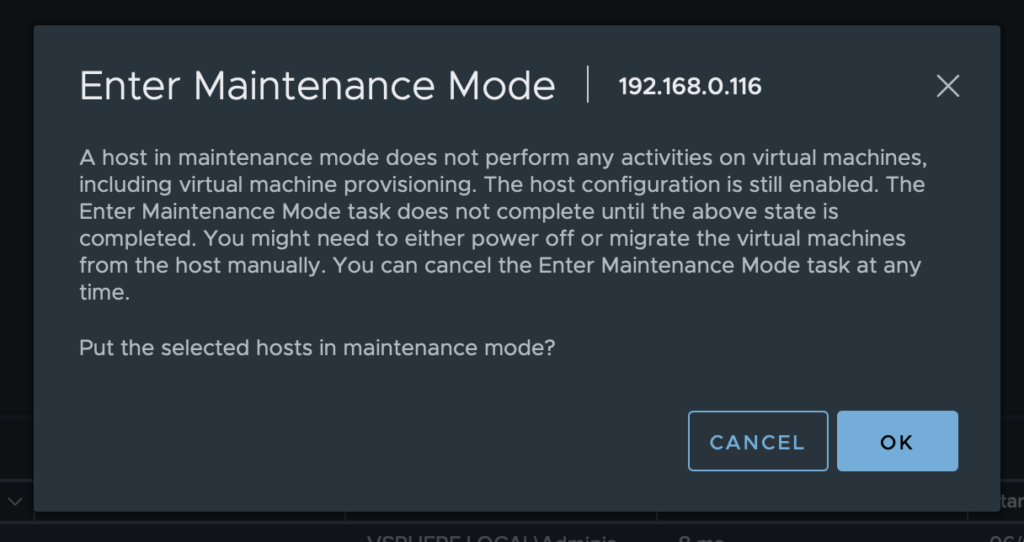
For now I will keep Maintenance Mode, so no activities on VMs hosted on this new host.