Download vCenter Server Appliance Installer – from here.
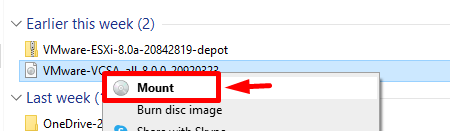
Mount the .ISO you downloaded from VMware website.
Open the folder called “vcsa-ui-installer” and choose the correct folder based on your operating system. Since I am using Windows 10 to deploy VCSA, I will select “Win32” folder.

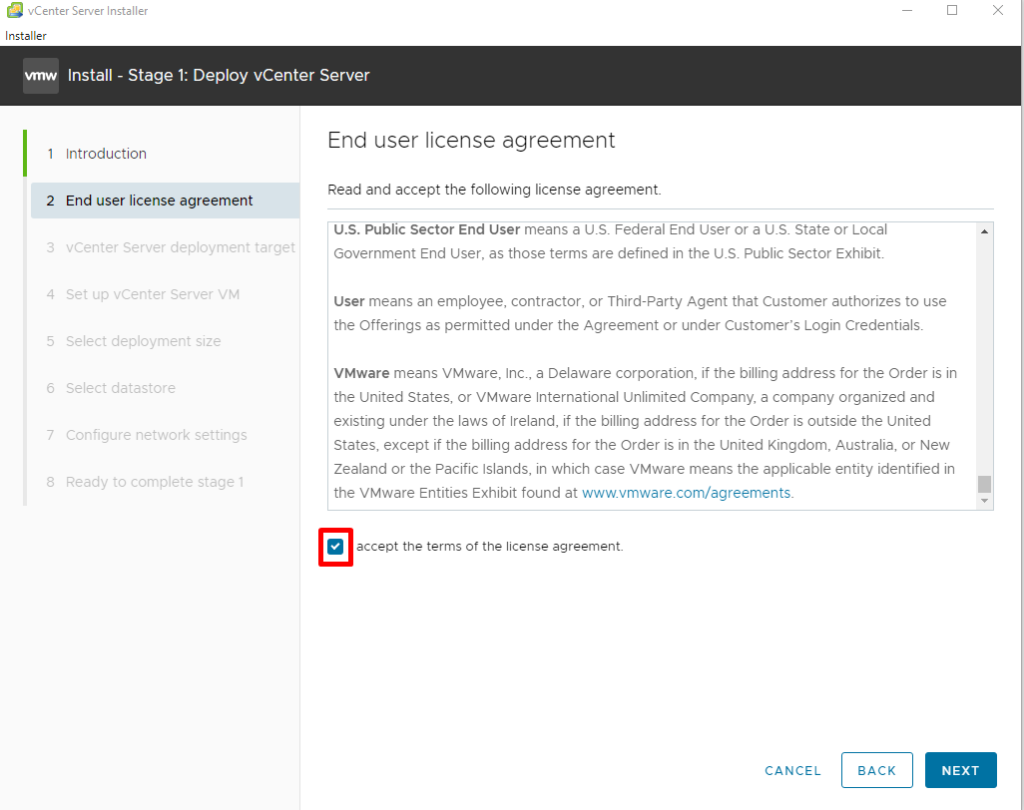
Choose Install and click on it.

Specify target where vCenter server appliance will be deployed. I will be using a standalone ESXi host. Once you have completed form, click Next to continue.
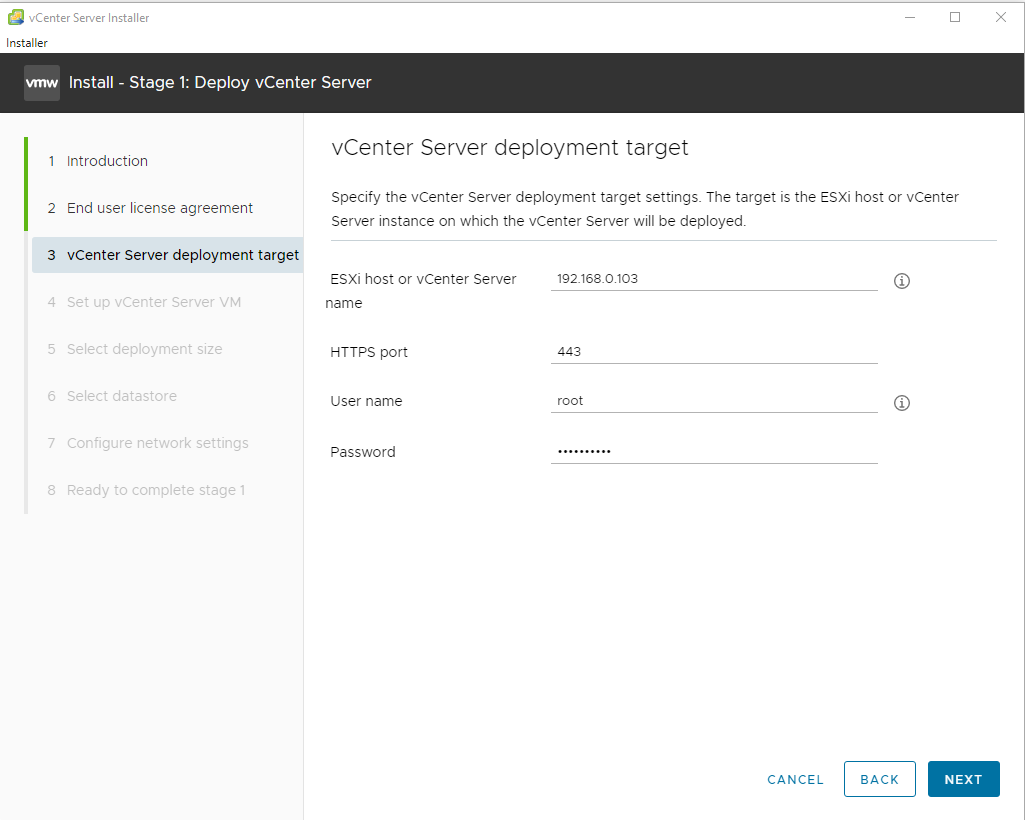
Note: A Certificate Warning might appear. Click Yes to continue.
Specify the VM settings for the vCenter Server. Click Next to continue.

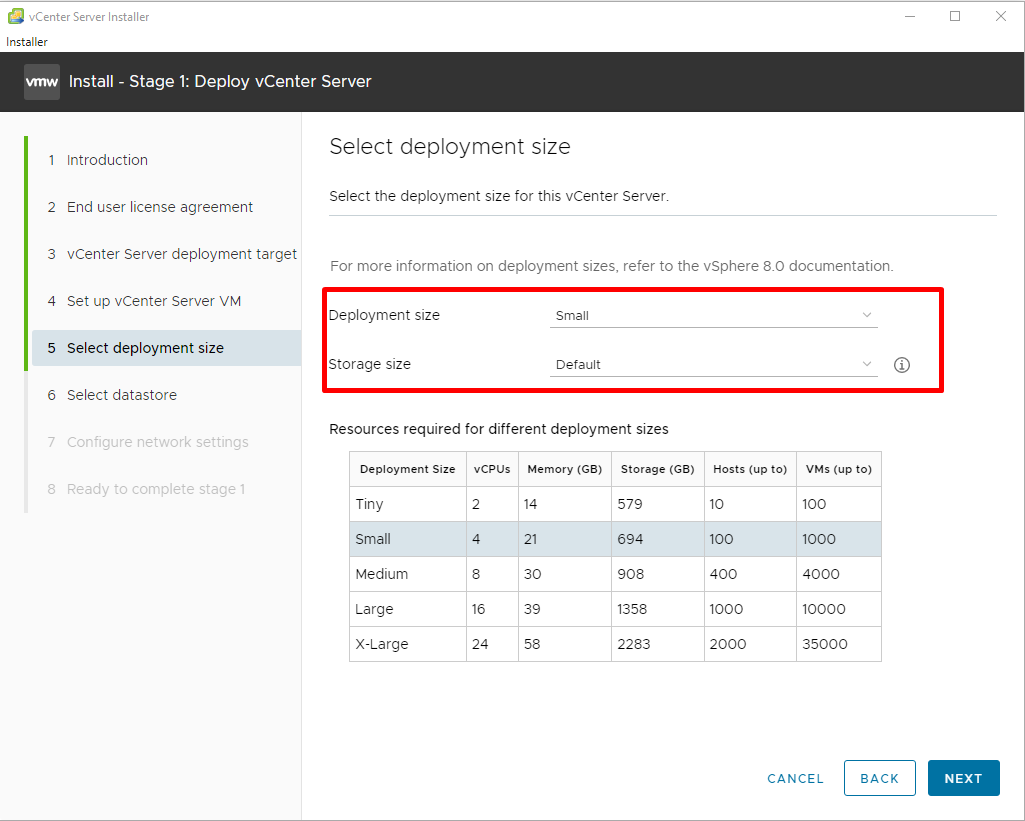
Select the VCSA deployment size for your environment. I will be using “Small” for deployment size and “Default” for Storage Size. Click Next to continue.
Select Datastore and click Next to continue. I’ve also selected “Enable Thin Disk Mode” (the datastore size should have a minimum of 25GB space).

Configure the network settings of the VCSA and click Next to continue.

Review your configuration and click Finish.